

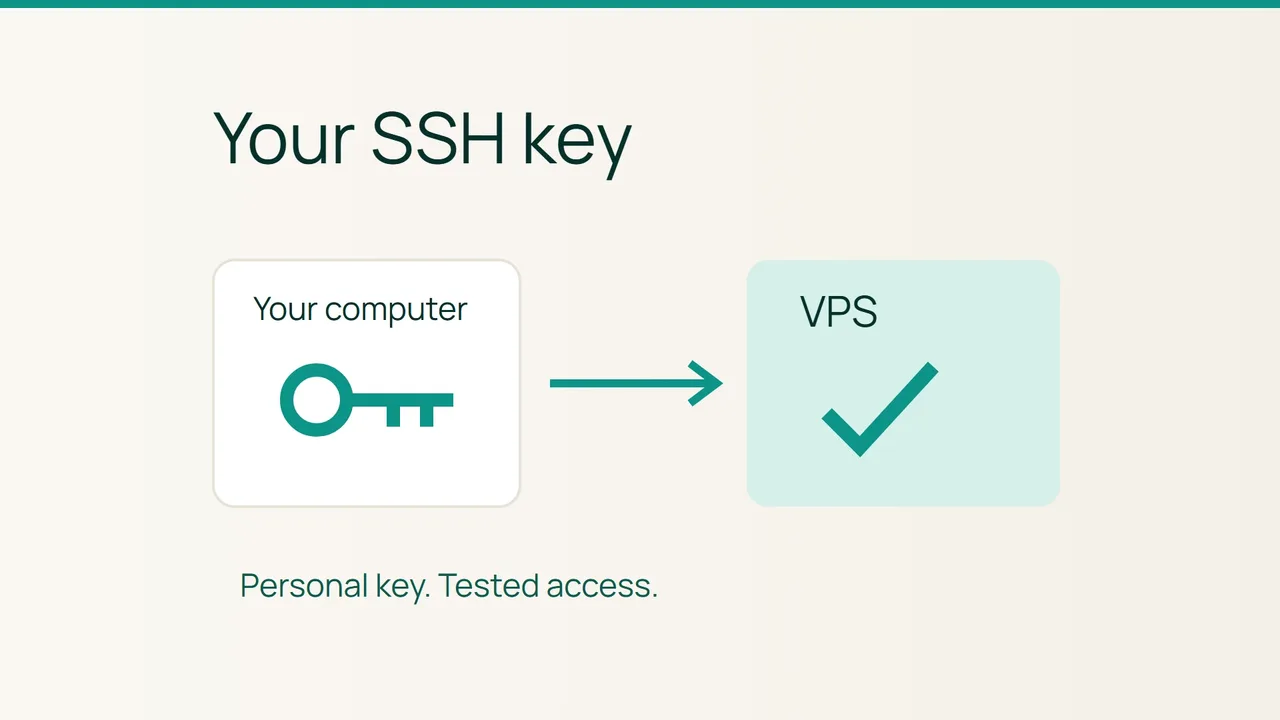
Vultr's announcement of a Cycle.io MCP integration is a reminder to review how people reach infrastructure. A useful starting point on your own VPS is a personal SSH key with a login you have actually tested.
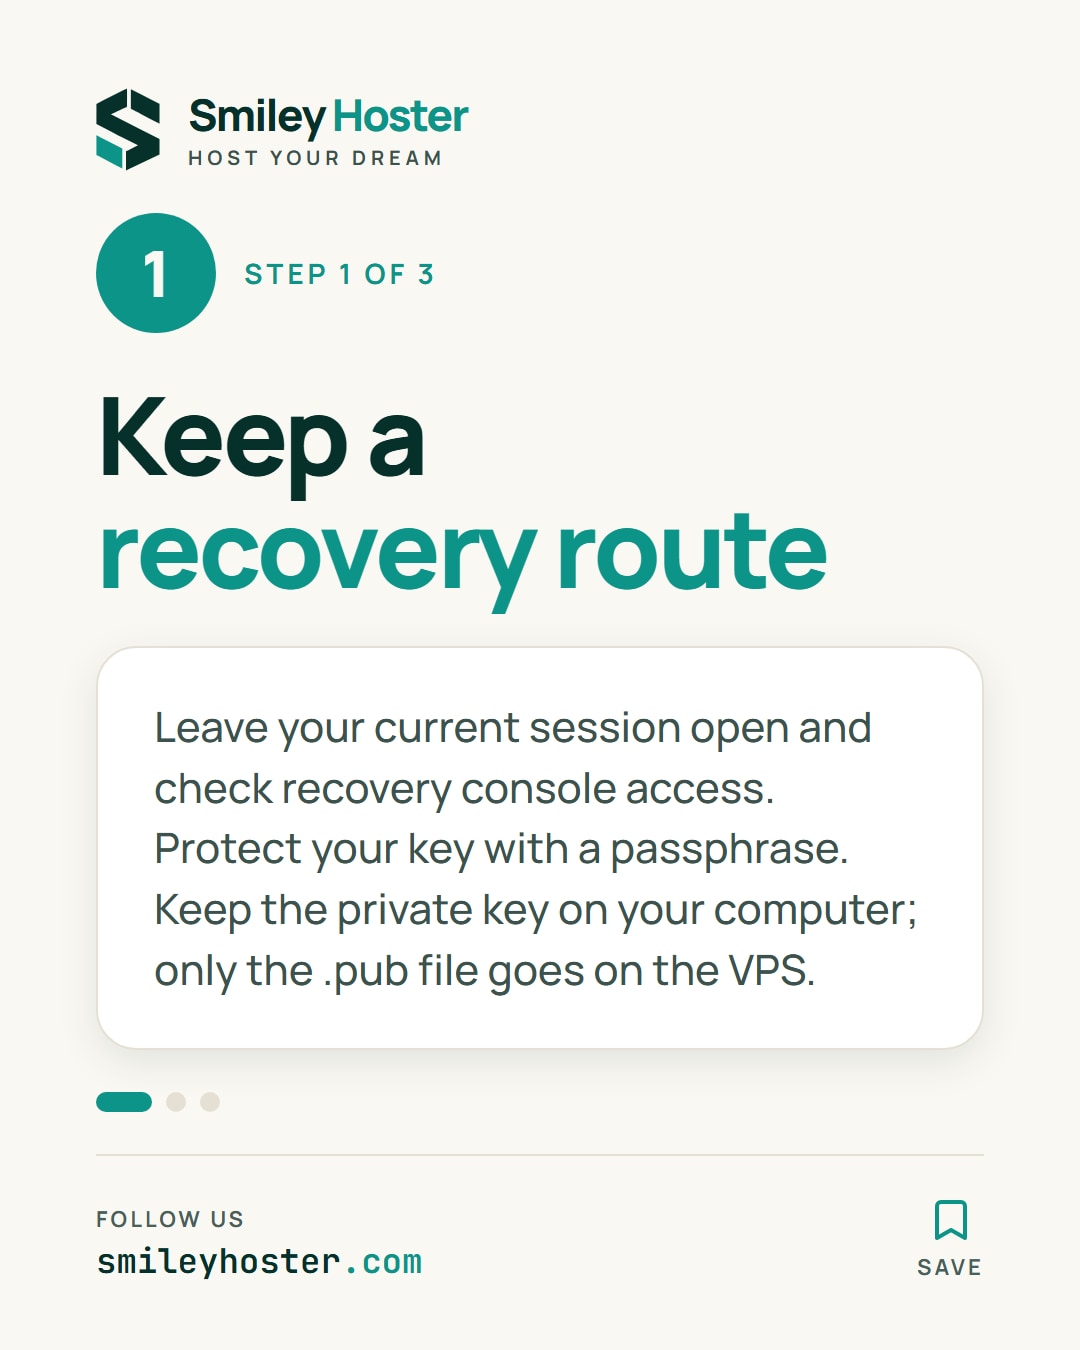
1. Keep a recovery route available
Use this walkthrough for an Ubuntu VPS running OpenSSH and a computer with an SSH client. You need an existing way to sign in to the intended account. The examples use admin@vps.example.com; substitute your real username and server address.
Leave your current connection open. Before changing access arrangements, establish how you would reach the server's recovery console and who can use it. Do not rely on a colleague being available when you next need access.
Generate a key on your computer if you do not already have a suitable one:
ssh-keygen -t ed25519Protect it with a passphrase. Stop if the command offers to overwrite an existing key you still need. Choose a different filename instead, then use that filename in the following commands.
The private file belongs on your computer. Its .pub companion is the public part that can be installed on the VPS. Do not send the private file to support, a shared drive or another administrator.
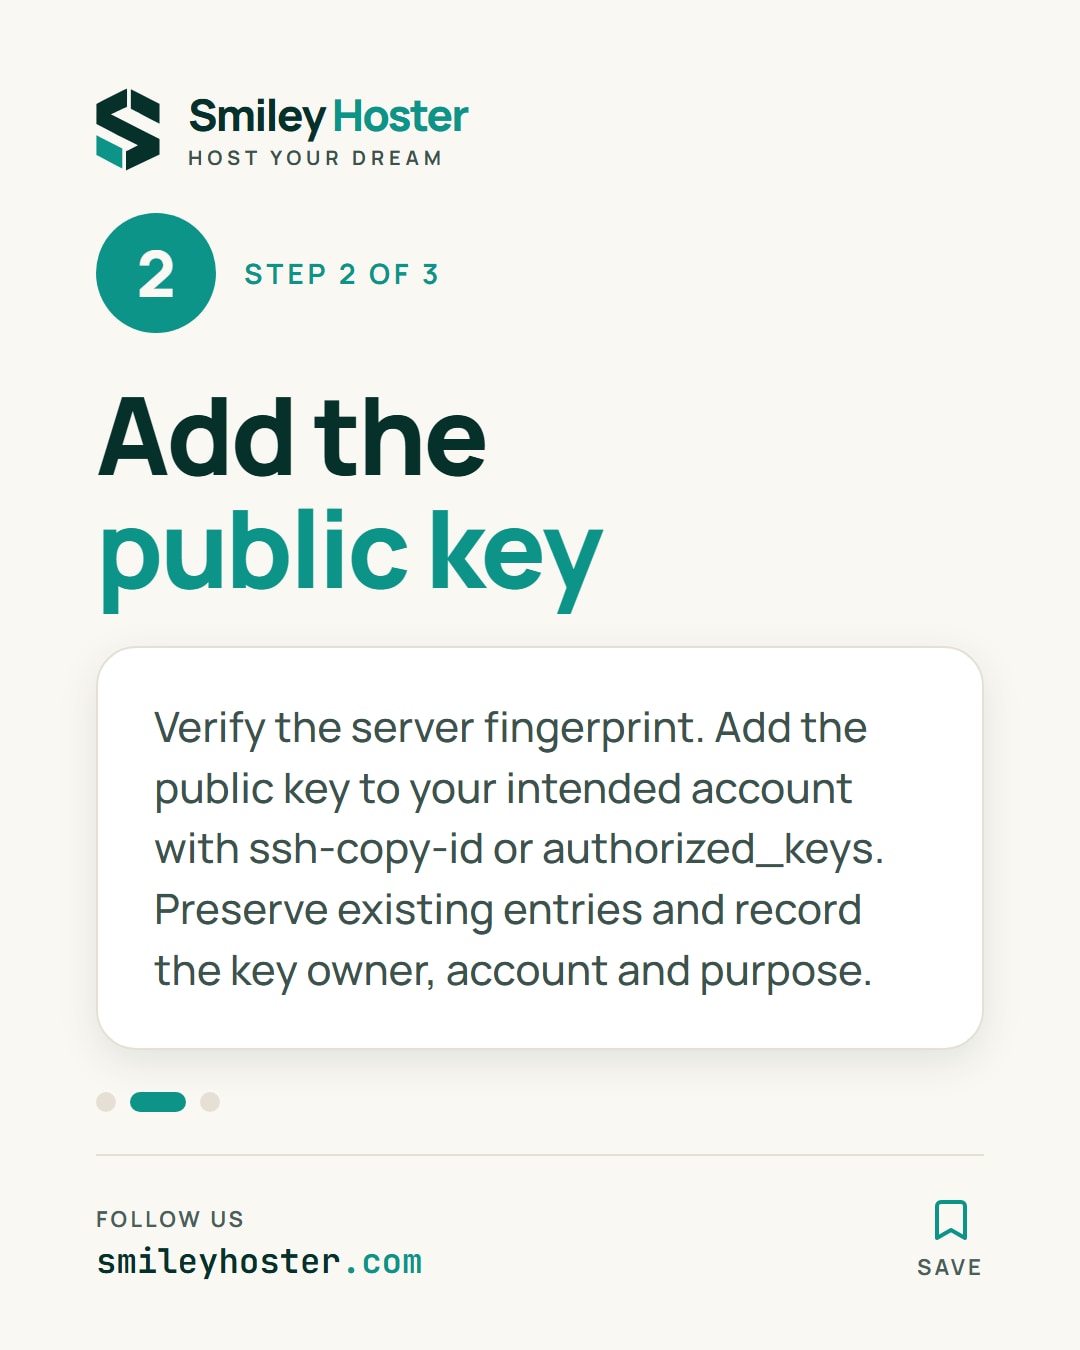
2. Add your public key to your account
On Linux or macOS with ssh-copy-id available, run:
ssh-copy-id -i ~/.ssh/id_ed25519.pub \ admin@vps.example.comConfirm the server identity against a trusted fingerprint before accepting a first connection. An unexpected identity warning deserves investigation.
If that helper is unavailable, use the existing session to append the public key as one complete line to the target account's ~/.ssh/authorized_keys. Preserve existing entries until you know who or what uses them. Work on the account you will actually use, rather than installing every administrator's key under one shared identity.
Keep a short access record: key owner, account and purpose. It gives you something concrete to review when responsibilities change.
3. Test a separate session
From a new local terminal, request public-key authentication explicitly:
ssh -i ~/.ssh/id_ed25519 \ -o PreferredAuthentications=publickey \ -o PasswordAuthentication=no \ admin@vps.example.comThe key's passphrase prompt is expected. It unlocks your local private key and is different from the remote account password. Confirm that the new session reaches the intended server and supports your usual administrative work.
If login fails, use the original session to check the target account and public-key installation. Keep alternative access methods until the test succeeds. Record the successful test and how this key will be removed later; copying a file alone is not an access acceptance test.
Sources: Vultr, Ubuntu — OpenSSH.
See it in our social posts
The key steps of this article, as a carousel. Follow us to catch the next ones.