

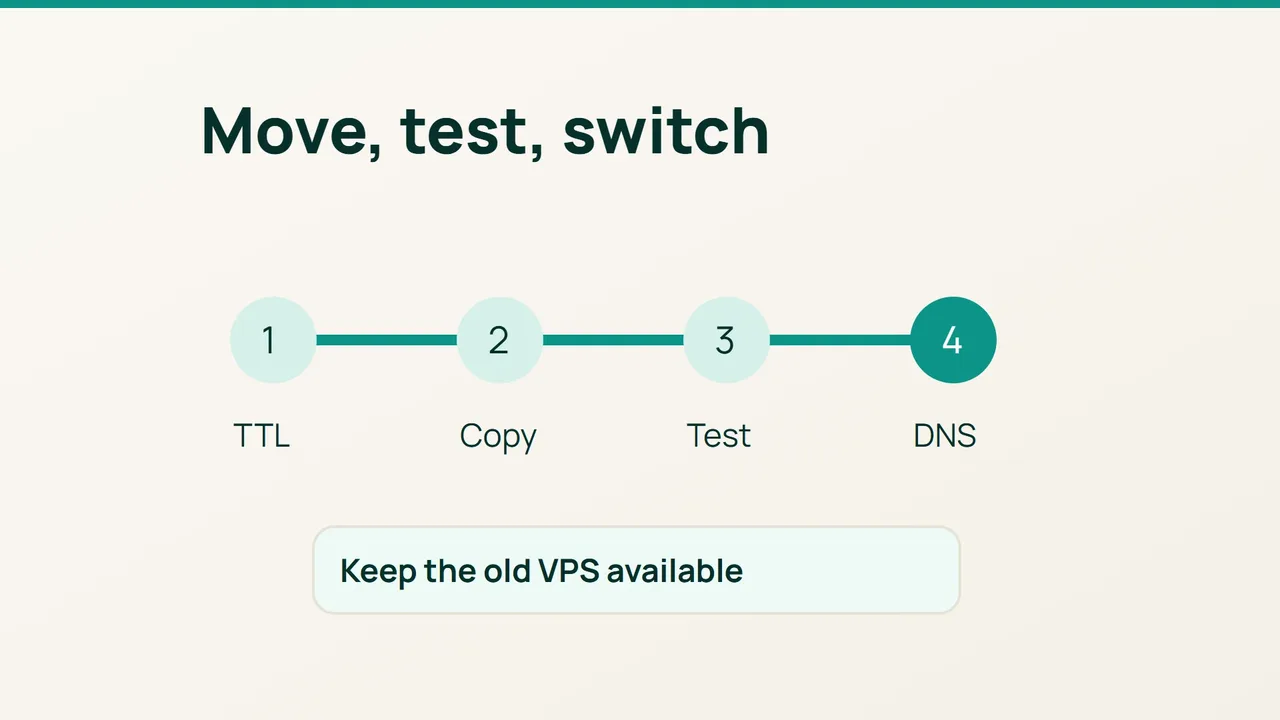
Vultr's migration guidance puts application testing before DNS cutover. This procedure turns that sequence into a repeatable VPS move, with one essential boundary: rsync transfers files, not a live database's consistency.
1. Decide how both servers will serve valid data
Record the domain's A and AAAA records, runtime versions, extensions, scheduled jobs, database and session storage. Back up the site and prepare the replacement VPS with the required application stack and virtual host. Keep the original online.
Lower the relevant DNS TTL, for example to 300 seconds where supported. Wait at least the previous TTL before switching addresses; lowering it does not expire answers already cached. Save the original records for rollback.
dig +noall +answer example.com Adig +noall +answer example.com AAAAPick the data strategy before copying:
- For a static site, pause content changes until migration finishes. Reading can continue on both servers.
- For uninterrupted writes on a dynamic site, both frontends need coherent shared storage, compatible sessions and only one execution of each scheduled task. Prepare this over a secured private network.
- Moving a local database as well requires database-specific replication and promotion for continuous writes. An export/import with writes paused is an alternative, but does not provide complete uninterrupted service.
2. Copy the site and rehearse the new route
Install rsync on both hosts. Run the following on the old VPS with an account that can read the source. On the new VPS, deploy must have write access to the dedicated destination /srv/site/. Replace NEW_IP and verify its SSH host key.
rsync -azn --itemize-changes /var/www/site/ \ deploy@NEW_IP:/srv/site/rsync -az /var/www/site/ deploy@NEW_IP:/srv/site/The trailing slash copies the source directory's contents. Point the new virtual host at that destination and set ownership and permissions for its web service. Never substitute a copy of a running database's data directory for a database migration.
Install a valid domain certificate on the destination before testing HTTPS. A DNS challenge can establish it before the A record moves; arrange automated renewal too.
Temporarily map the domain to the new IP in your workstation's hosts file:
203.0.113.20 example.comReplace that documentation address. The file is /etc/hosts on Linux/macOS and C:\Windows\System32\drivers\etc\hosts on Windows; editing needs administrator privileges.
Check pages, login, images and application operations using the real hostname. An explicit command avoids ambiguity from cached DNS answers:
curl --resolve example.com:443:203.0.113.20 \ -I https://example.com/Do not add -k; certificate errors are part of the acceptance test.
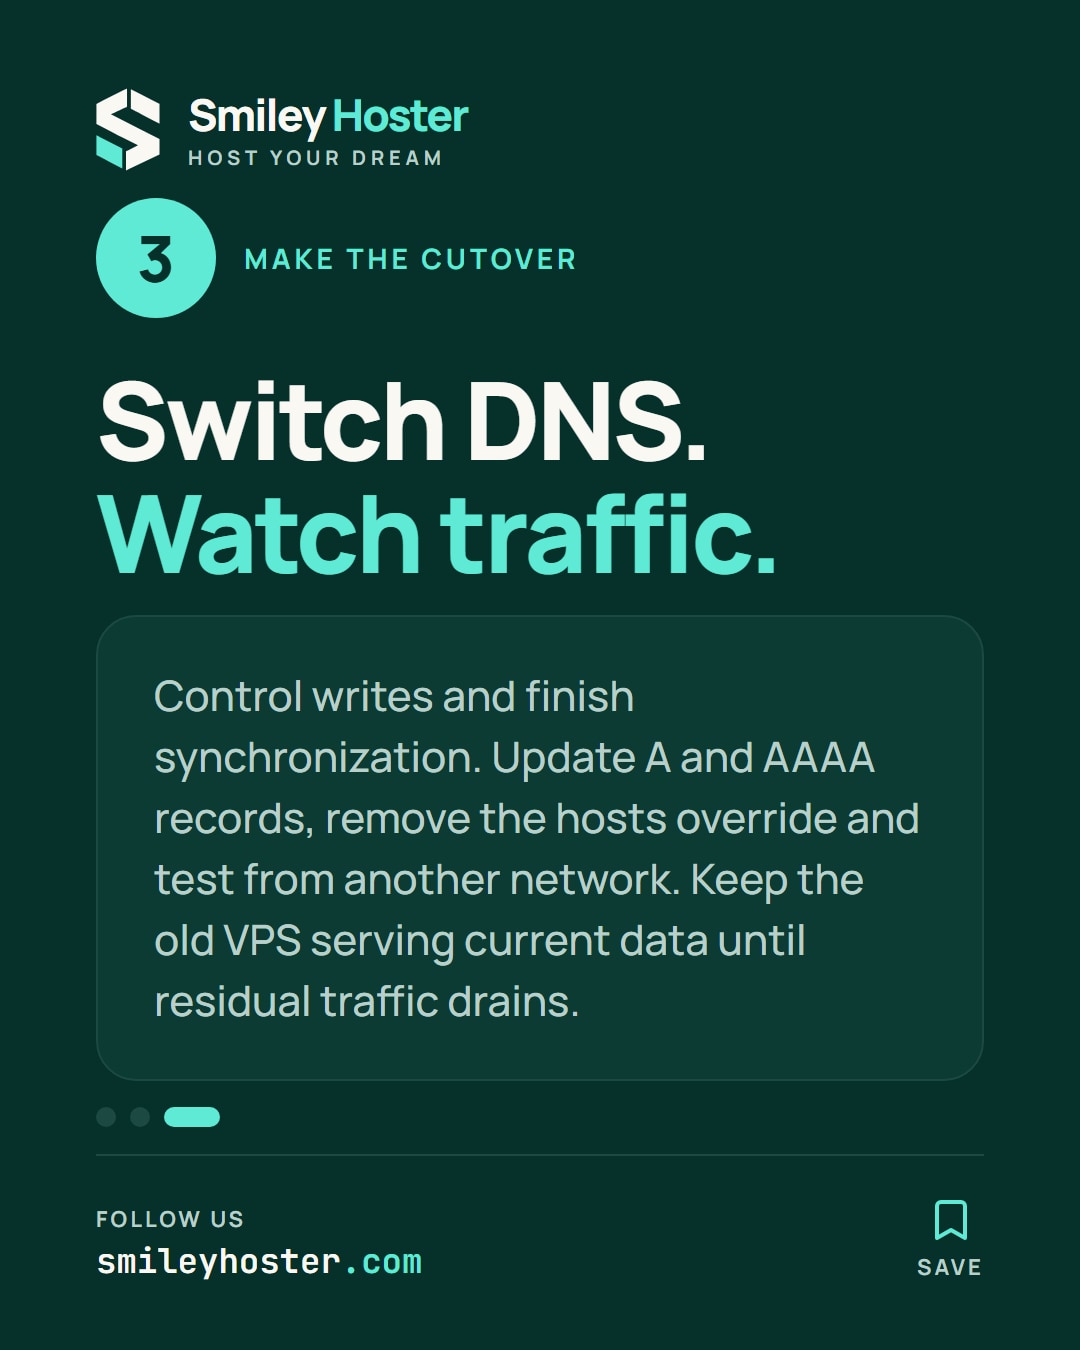
3. Complete synchronization and change DNS
Once writes are controlled by your chosen strategy, preview the final file synchronization. The delete option removes destination files missing from the source, so use it only for the dedicated, backed-up site directory.
rsync -azn --delete --itemize-changes \ /var/www/site/ deploy@NEW_IP:/srv/site/rsync -az --delete \ /var/www/site/ deploy@NEW_IP:/srv/site/Update A and any AAAA record. Remove the hosts override, test from another network, and compare access and error logs on both servers. Keep the old endpoint serving until observed residual traffic has drained; a five-minute TTL is not a universal deadline.
Common failures: leaving IPv6 on the old machine, duplicating cron jobs, switching before TLS works or reverting DNS after the databases diverge. Restoring the old IP is safe only while that frontend can still serve current data.
After acceptance, restore the intended TTL and retire the old VPS according to your retention plan. The final check is a working public site with consistent data, not merely a new address in a DNS lookup.
Sources: Vultr migration preparation, Vultr pre-cutover testing.
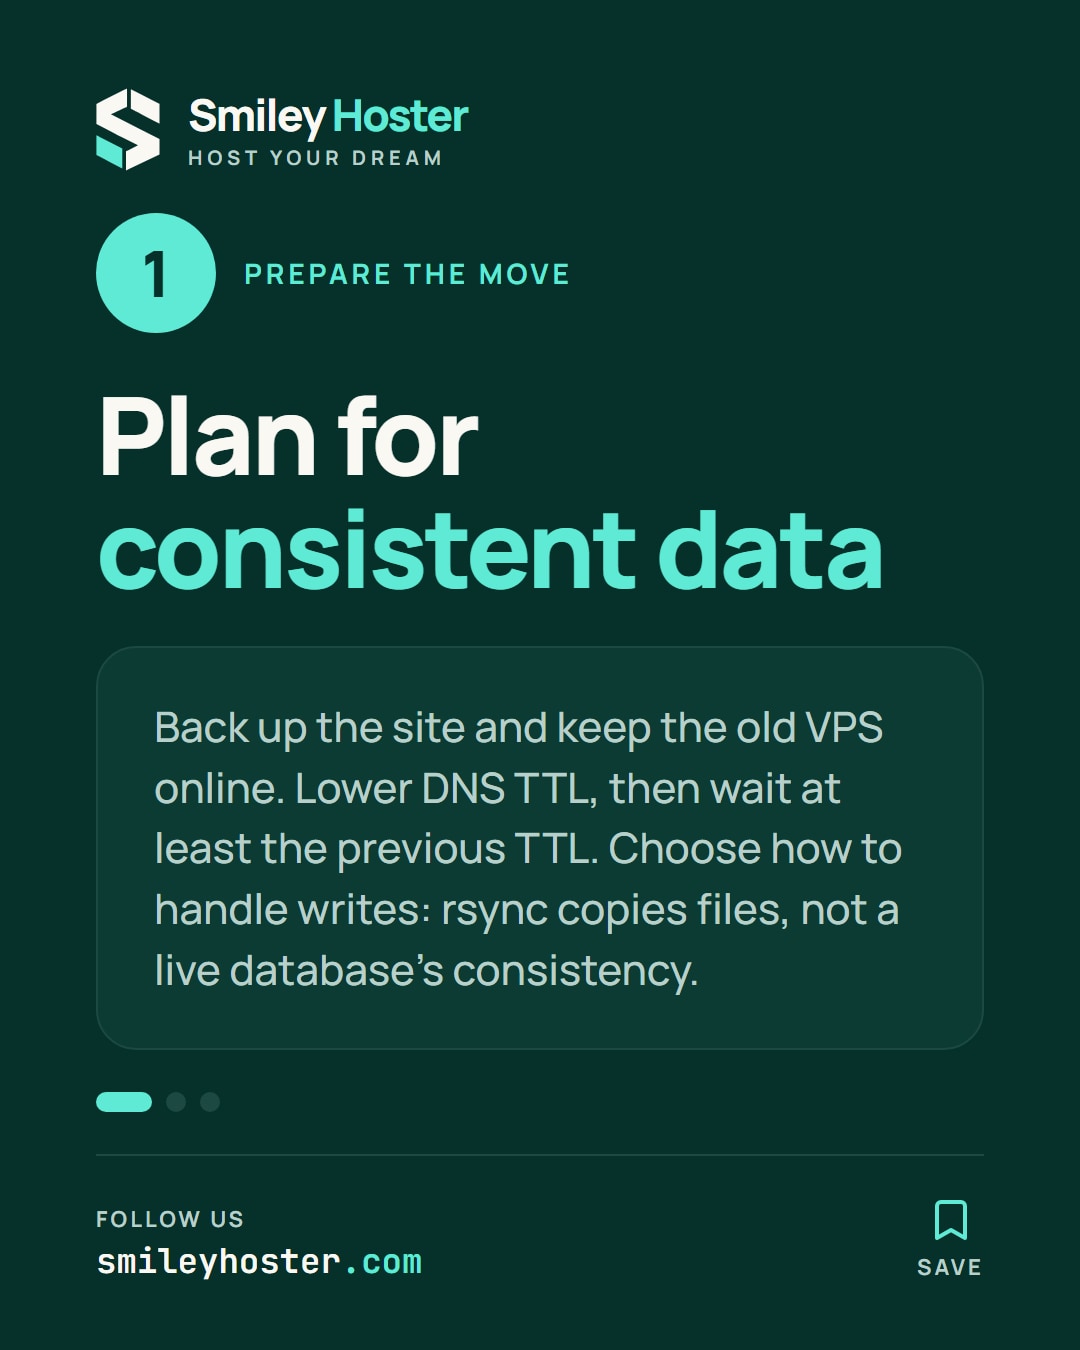
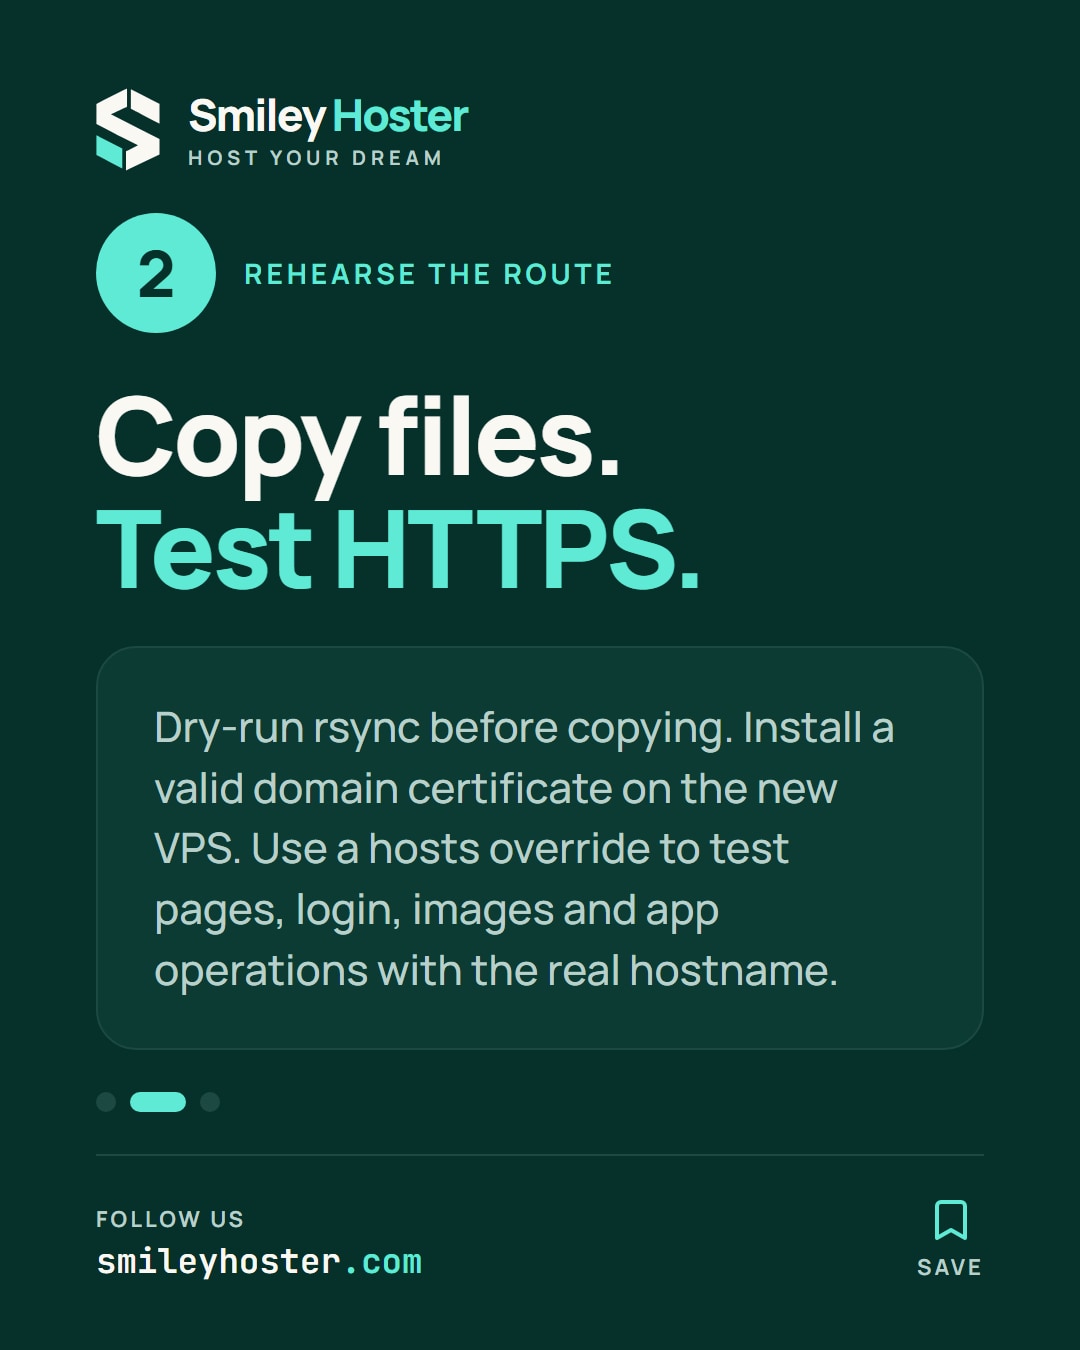
See it in our social posts
The key steps of this article, as a carousel. Follow us to catch the next ones.