

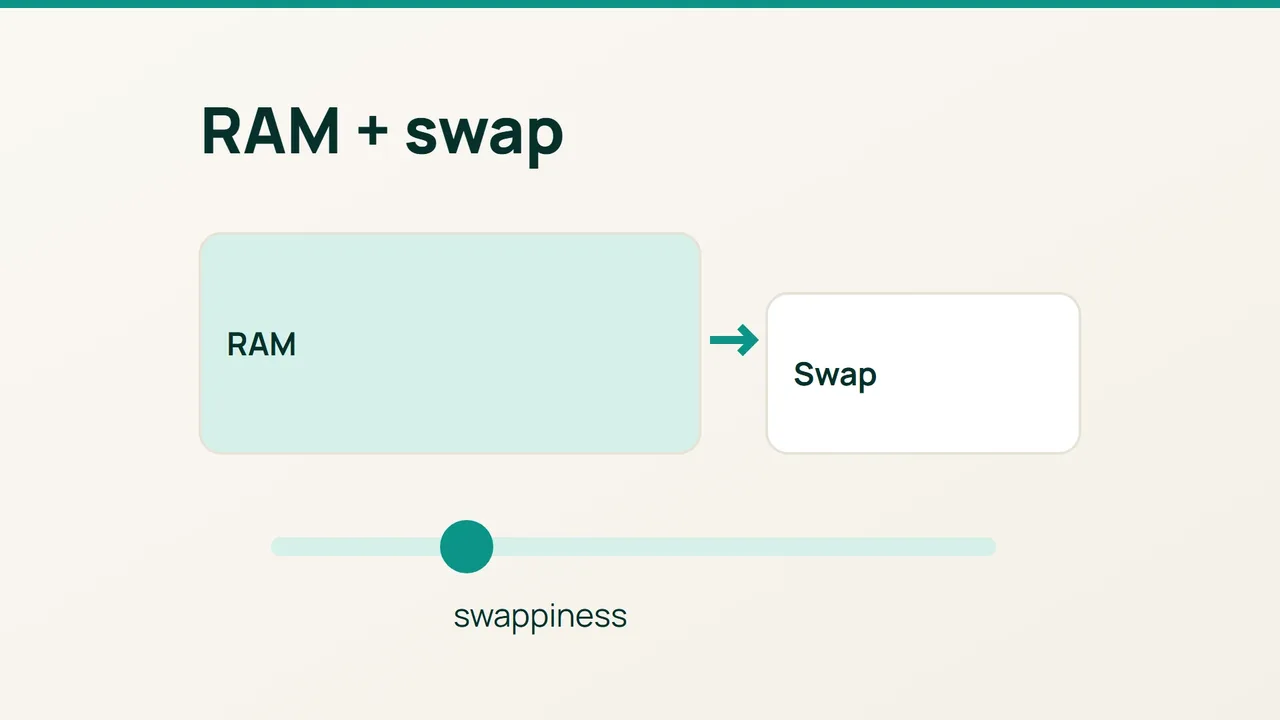
Cloudflare's recent DNS-cache engineering post is a reminder that memory demand can be reduced. On a smaller VPS, swap provides another tool for short peaks: this procedure adds a disk-backed reserve and tests its effect instead of treating it as extra RAM.
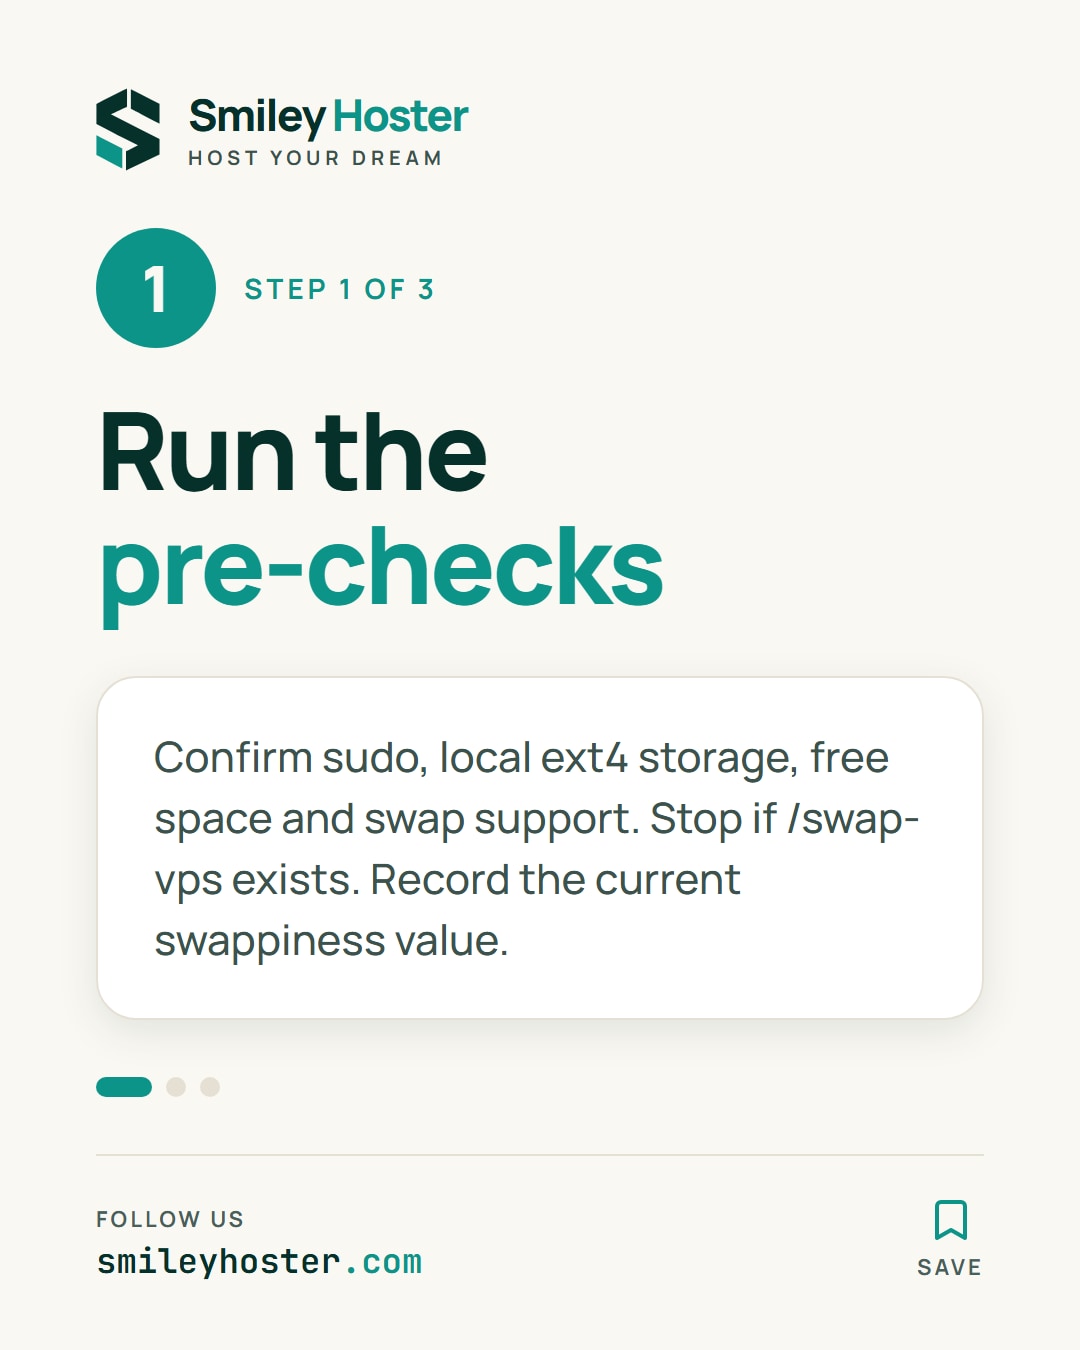
1. Confirm the scope and available space
Use an Ubuntu VPS with sudo and a local ext4 filesystem. The virtualization platform must permit swap. Btrfs, network filesystems and restricted containers need their own setup instructions.
free -hswapon --showfindmnt -no FSTYPE /df -h /sysctl vm.swappinesssudo test -e /swap-vps && echo "STOP: file exists"Stop if the destination already exists. Reformatting an existing swap file is not part of this guide. Record the original swappiness setting.
The worked example allocates 2 GiB. Choose a size that leaves room for application data, logs and upgrades; consuming the final free gigabytes introduces a different failure.
Swap lets the kernel move some memory pages to disk. It can cushion system-wide pressure, but disk access is slower. It cannot guarantee recovery from a leak, an application memory ceiling or a container's own resource limit.
2. Allocate the file and enable it at boot
After confirming that /swap-vps is absent, run each command and stop on any error:
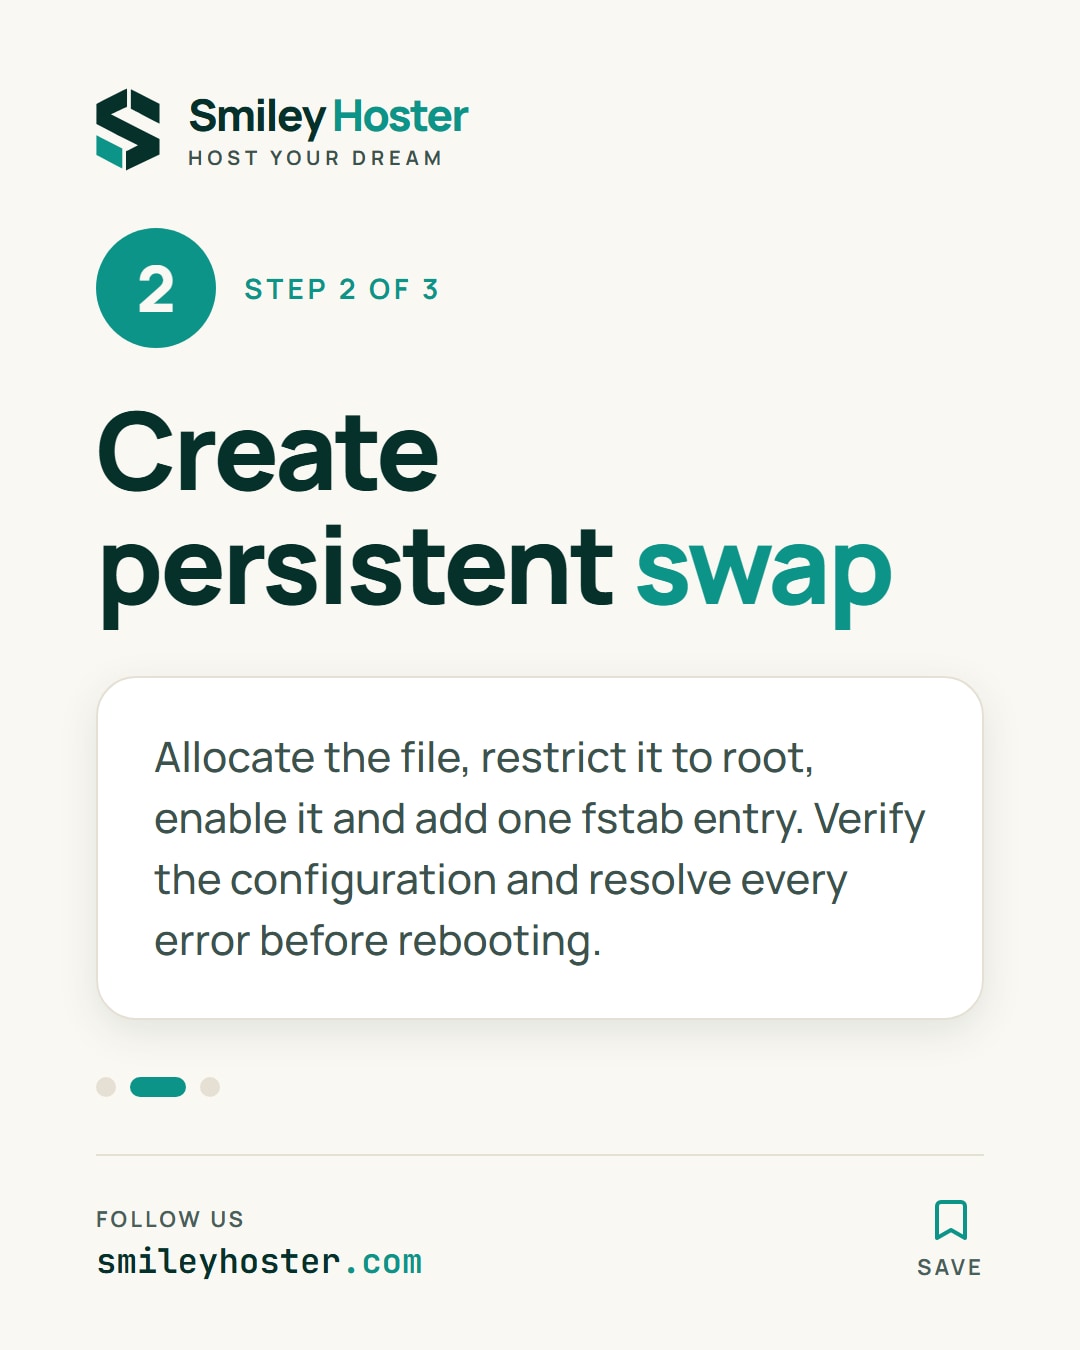
sudo install -m 600 /dev/null /swap-vpssudo dd if=/dev/zero of=/swap-vps \ bs=1M count=2048 status=progresssudo mkswap /swap-vpssudo swapon /swap-vpsswapon --showDo not continue after an allocation error such as “No space left”. Mode 600 restricts the file to root.
Back up the mount configuration before editing:
sudo cp -a /etc/fstab /etc/fstab.before-swapsudoedit /etc/fstabAdd this entry once, leaving existing mounts intact:
/swap-vps none swap sw 0 0sudo systemctl daemon-reloadsudo findmnt --verifysudo swapon --allResolve validation errors before rebooting. The active swap list should now contain the intended file and size.
3. Compare a tuning trial with the baseline
First observe your existing swappiness value with swap enabled. Swappiness expresses a relative reclaim preference, not the percentage of RAM that must fill before swapping begins.
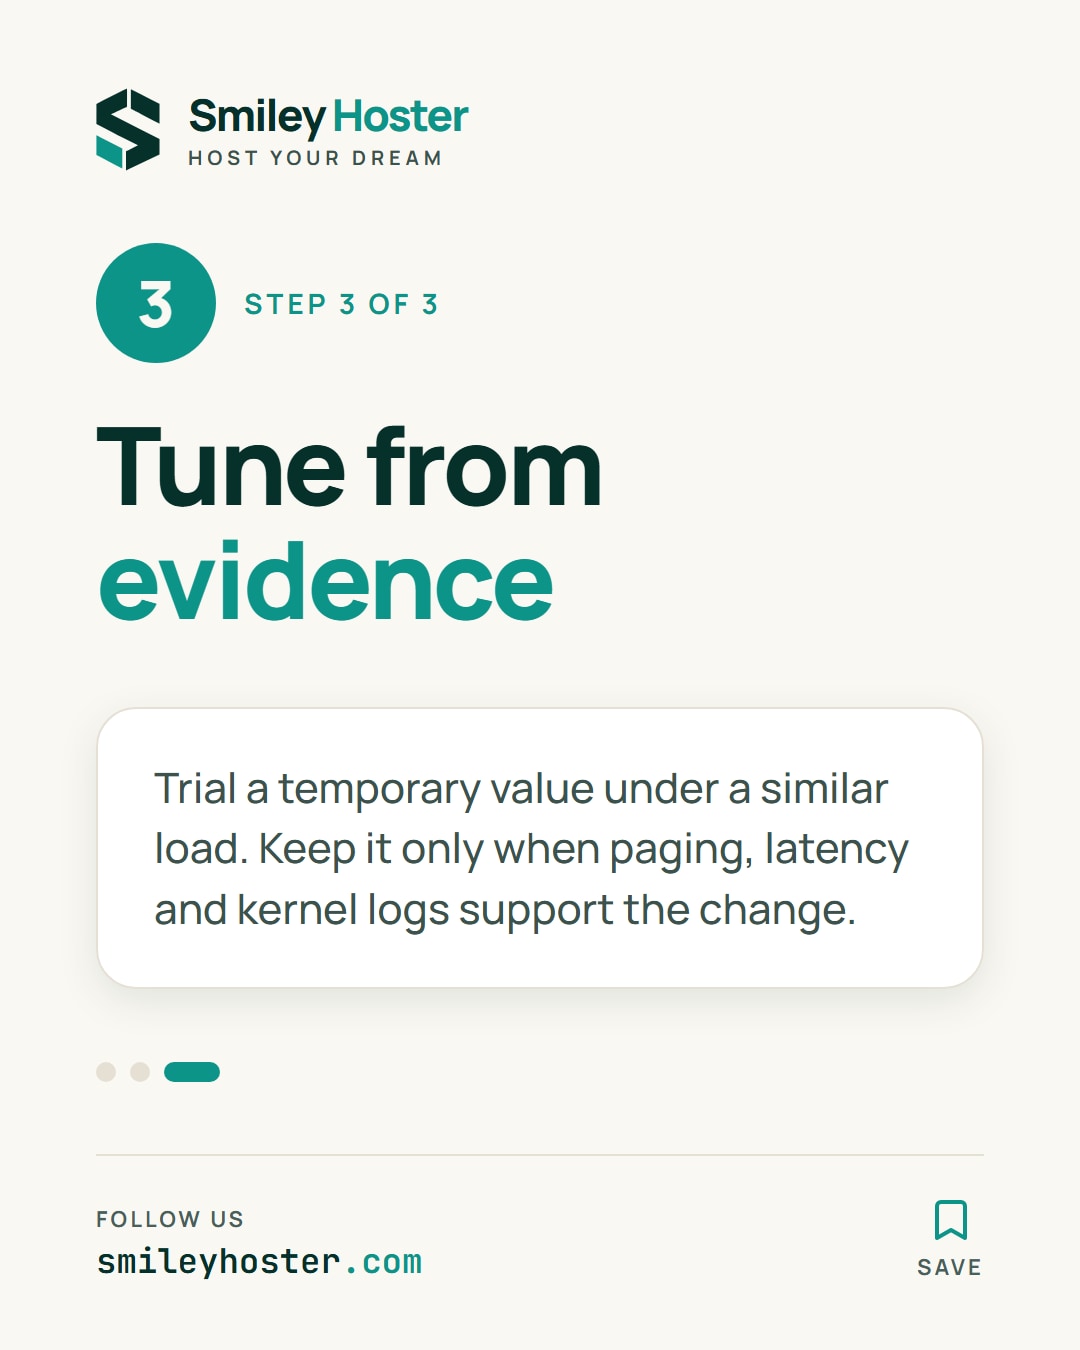
If disk activity is hurting response times, compare a temporary value under a similar workload:
sudo sysctl vm.swappiness=20vmstat 1 10free -hsudo journalctl -k --since "30 minutes ago" \ | grep -Ei 'out of memory|killed process'Twenty is an example experiment, not a universal setting. In vmstat, inspect si and so after the first line, then compare application latency. Sustained paging alongside poor responses points toward reducing concurrency or increasing RAM.
Keep a value only if the measurements support it:
echo 'vm.swappiness=20' | sudo tee \ /etc/sysctl.d/90-vps-swap.confsudo sysctl --systemsysctl vm.swappinessCheck the effective result because another configuration file may override it. After a planned reboot, repeat swapon --show and confirm the file is still enabled.
Common mistakes: duplicate fstab entries, unsupported swap inside restricted virtualization, and assuming a lower swappiness setting prevents OOM failures. To undo the tuning, restore the recorded value and remove the new persistent setting. Do not disable occupied swap merely to empty it without first checking whether RAM can absorb those pages.
Sources: Cloudflare, Ubuntu.


See it in our social posts
The key steps of this article, as a carousel. Follow us to catch the next ones.