

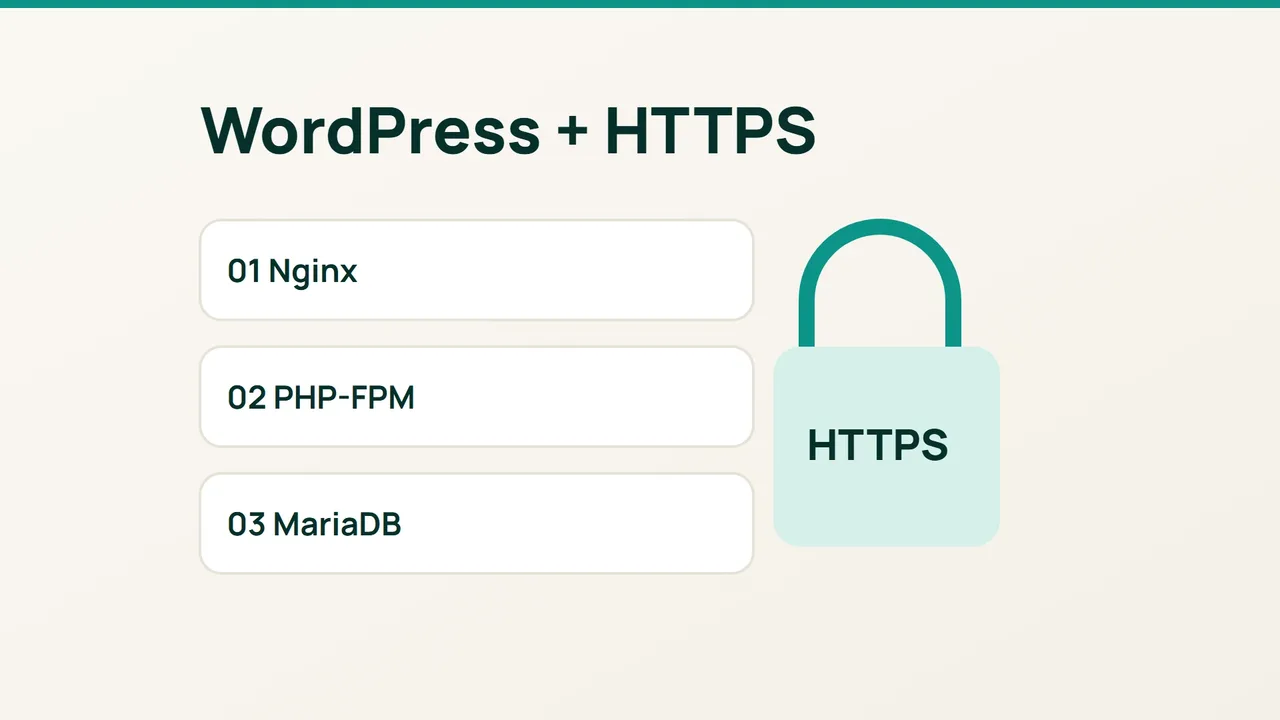
A working WordPress installation needs more than a successful package install: PHP, the database and HTTPS must all agree. Using Vultr's LEMP walkthrough as a starting point, this recipe builds a fresh Ubuntu 24.04 VPS with MariaDB and a domain you control.
1. Establish the server and database
Use a sudo account. Replace example.com throughout. Point its A record to the server and check that any AAAA record reaches the same deployment. Allow inbound TCP 80 and 443 in both firewalls while preserving SSH access. Keep the database private.
sudo apt updatesudo apt install nginx mariadb-server php8.3-fpm \ php8.3-mysql php8.3-curl php8.3-gd php8.3-xml \ php8.3-mbstring php8.3-zip php8.3-intl curl \ certbot python3-certbot-nginxsudo systemctl enable --now nginx mariadb php8.3-fpmsudo mariadbCreate a database account limited to this installation. Substitute a unique password before entering the SQL and retain it in your password manager.
CREATE DATABASE wp CHARACTER SET utf8mb4;CREATE USER 'wpapp'@'localhost' IDENTIFIED BY 'CHANGE_ME_UNIQUE';GRANT ALL PRIVILEGES ON wp.* TO 'wpapp'@'localhost';EXIT;2. Connect WordPress to PHP-FPM
Work in a new temporary directory so an earlier download cannot become part of this installation.
cd "$(mktemp -d)"curl -fLO https://wordpress.org/latest.tar.gztar -xzf latest.tar.gzsudo mkdir -p /var/www/wpsudo cp -a wordpress/. /var/www/wp/sudo chown -R root:www-data /var/www/wpcd /var/www/wpsudo cp wp-config-sample.php wp-config.phpsudoedit wp-config.phpEdit the existing define entries: database wp, user wpapp, your chosen password and host localhost. Replace all eight placeholder authentication keys and salts with distinct random values; run openssl rand -hex 32 separately for each. Keep this configuration out of version control.
sudo chown root:www-data wp-config.phpsudo chmod 640 wp-config.phpsudo mkdir -p wp-content/uploadssudo chown www-data:www-data wp-content/uploadssudoedit /etc/nginx/sites-available/wpAdd the following server block:
server { listen 80; listen [::]:80; server_name example.com; root /var/www/wp; index index.php; location / { try_files $uri $uri/ /index.php?$args; } location = /wp-config.php { deny all; } location ~* /uploads/.*\.php$ { deny all; } location ~ \.php$ { include snippets/fastcgi-php.conf; fastcgi_pass unix:/run/php/php8.3-fpm.sock; } location ~ /\. { deny all; }}sudo ln -s /etc/nginx/sites-available/wp \ /etc/nginx/sites-enabled/wpsudo nginx -t && sudo systemctl reload nginxThe web process can write uploads, but cannot replace application code. Plan to update WordPress, plugins and themes through your server administration account. Making the entire tree writable would undo that choice.
3. Finish through HTTPS
Obtain the certificate before submitting administrator credentials in the browser:
sudo certbot --nginx -d example.com --redirectcurl -I https://example.comsudo certbot renew --dry-runsystemctl list-timers --all | grep certbotOpen https://example.com, complete setup and create a unique administrator account. Your acceptance check is a valid certificate, an HTTP-to-HTTPS redirect, successful login, a working post permalink and an uploaded image. Also confirm that the renewal rehearsal passes and a renewal timer exists.
Troubleshooting: for 502 responses, inspect PHP-FPM and the socket path. For database connection errors, check the database name, user, password and host together. Failed certificate validation usually warrants checking DNS and port 80 first. An FTP prompt during an update reflects the chosen ownership model; use your server update procedure instead of changing permissions to 777.