

Hostinger’s September 22, 2026 story about La’Oda includes newsletters among the store’s promotional channels. Before scheduling your own campaign, use a mailbox you control to check what happens when a reader chooses to leave.
1. Define the test before sending
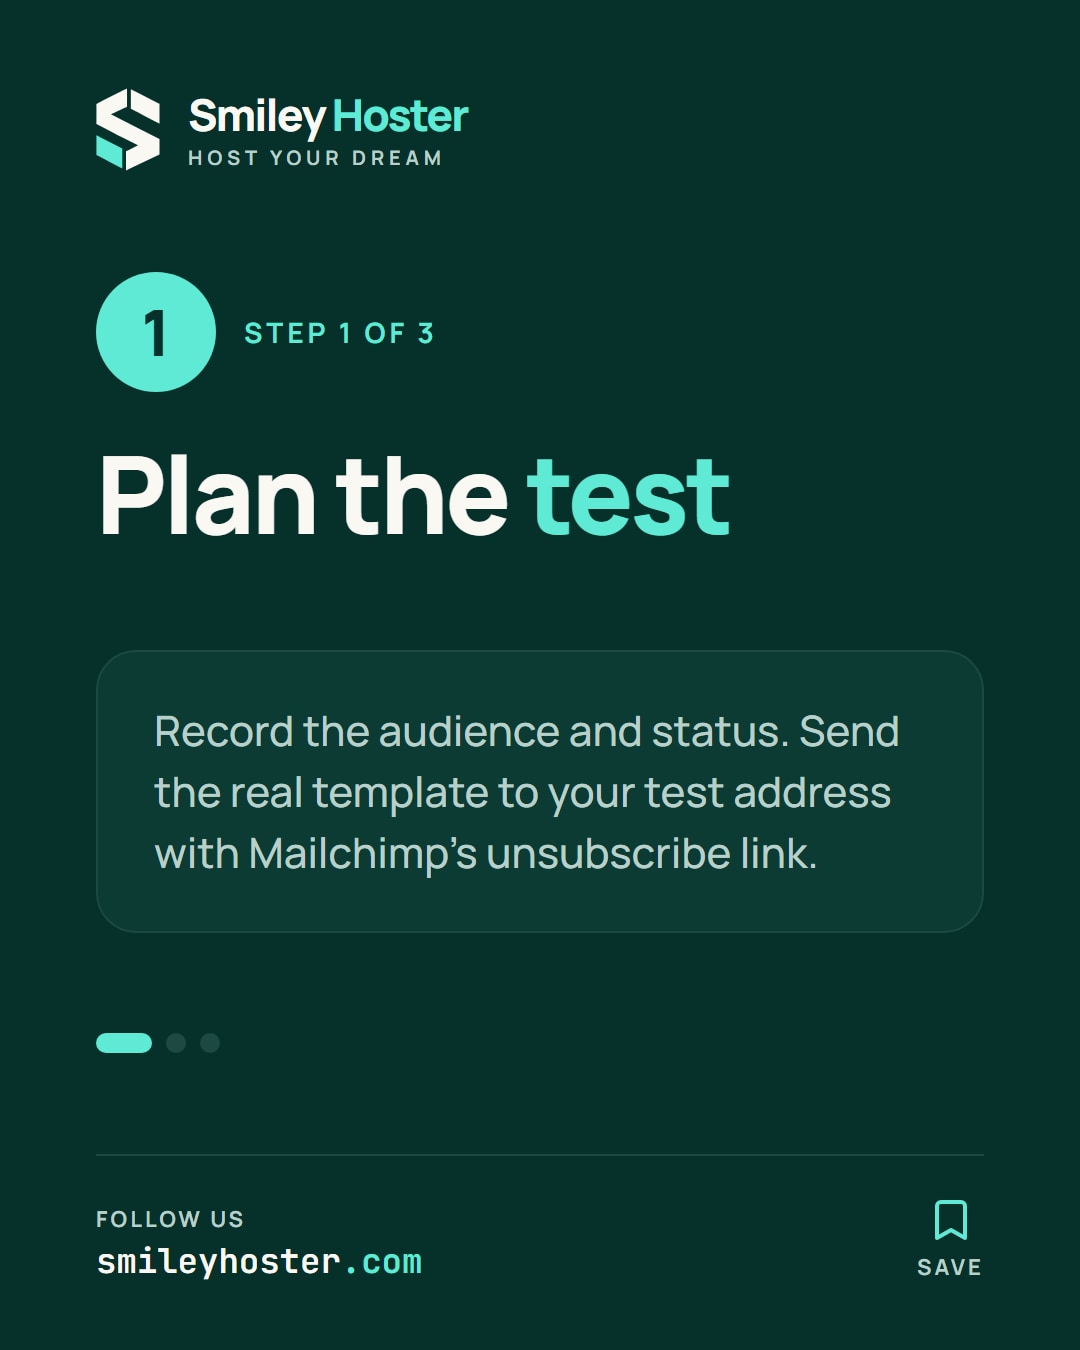
Write down the audience name, campaign name and current status of your test contact. Keep the contact record open alongside the mailbox so you can compare the starting point with the result.
Prepare a small real send using the template intended for your campaign, addressed only to your own test contact. Review the recipient selection before sending it. A clearly labelled subject will help you distinguish this message from earlier checks.
Keep Mailchimp’s supplied unsubscribe link in the design. Replacing it with a general contact page changes the reader’s route and does not substitute for the platform’s unsubscribe mechanism.
Decide who will record the result and who will fix a failed check. This makes the rehearsal useful even when different people manage the website, campaign design and audience data.
2. Check the received message and contact record
Read the delivered message on a device representative of your customers’ reading experience. Look for readable link text, enough spacing to select it and a footer that remains understandable in the finished design.
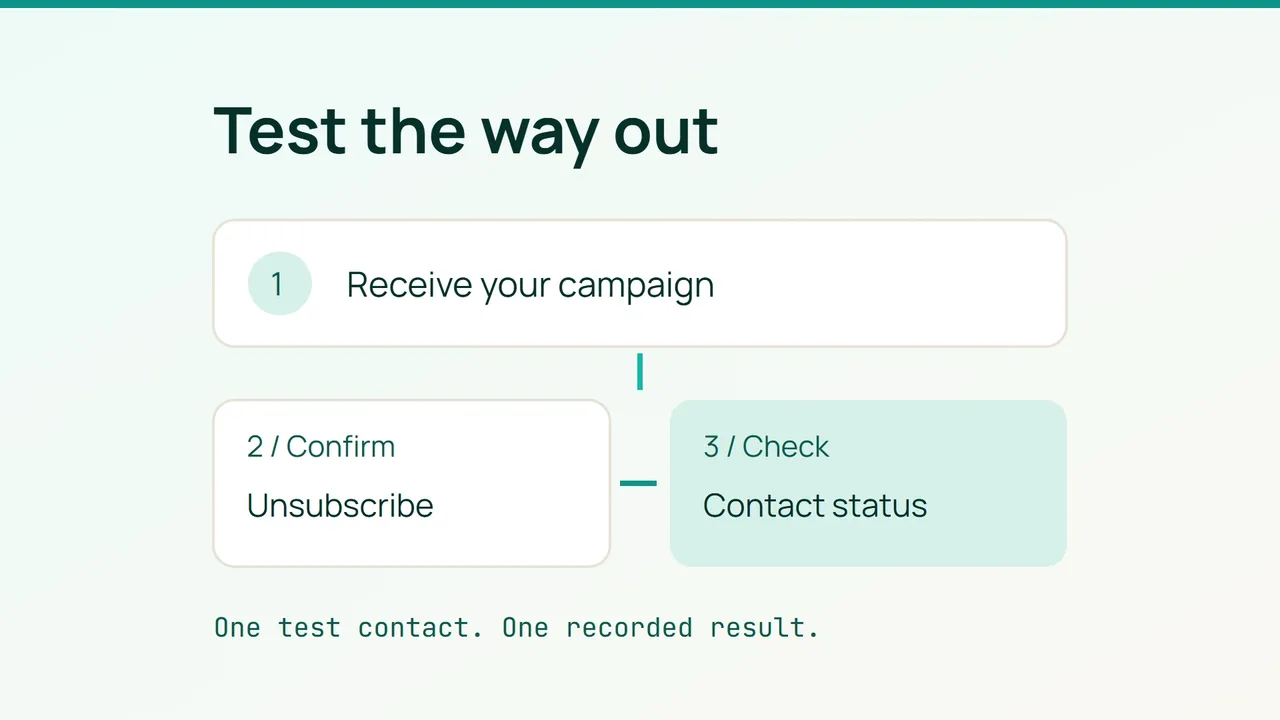
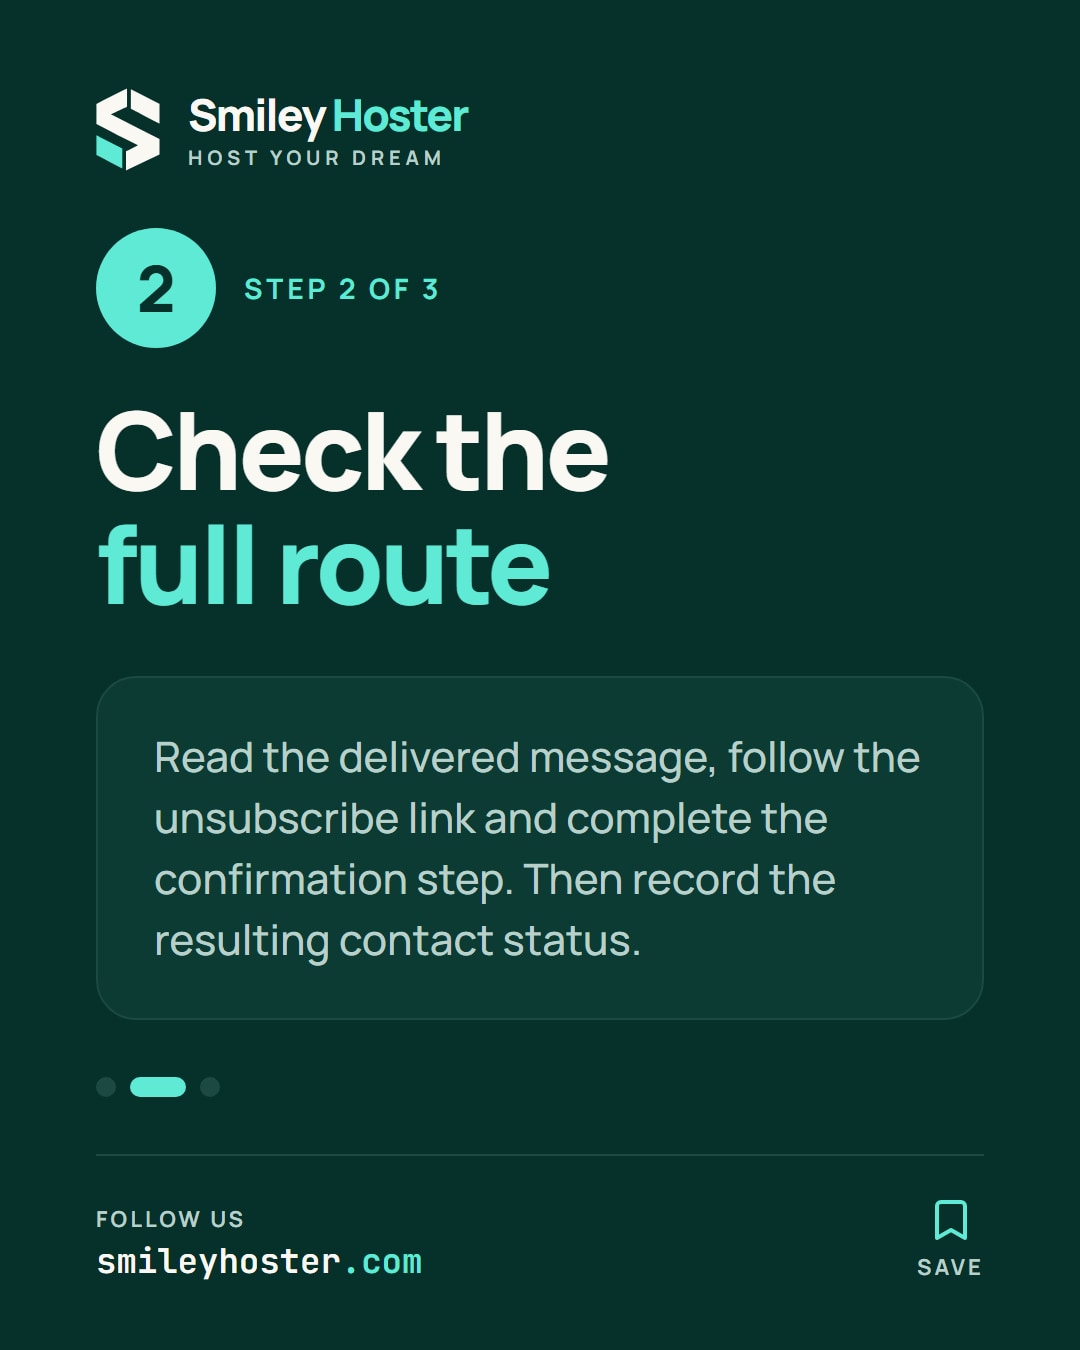
Follow the unsubscribe link in that message. Mailchimp’s body-link flow includes a confirmation step; complete it before checking the contact record. Seeing a web page load is only an intermediate observation.
Record the campaign, audience, time of the action and resulting contact status. Keep the evidence minimal: a short internal note is usually more useful than a screenshot full of personal information.
If the page fails or the contact record does not show the expected outcome, hold the wider send while you investigate. Give support the campaign reference and observed sequence rather than distributing personalised recipient links to colleagues.
3. Trace the same address through your workflow
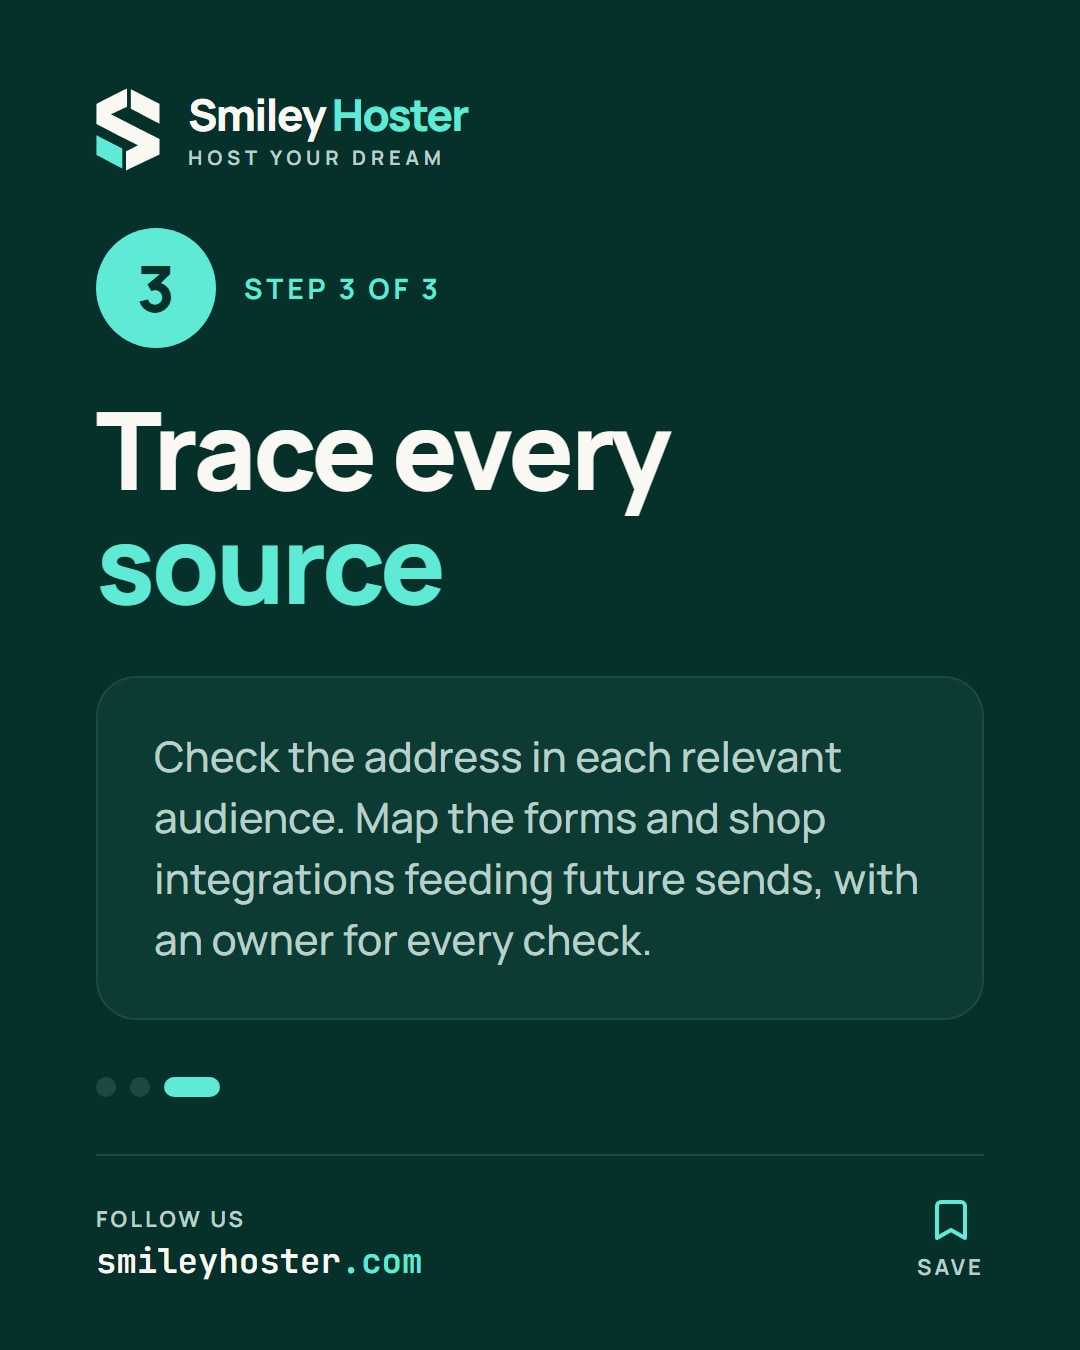
An unsubscribe in Mailchimp applies to the relevant audience. If your business maintains several audiences, inspect the test address in each and document their statuses separately.
Next, sketch the route from your website signup form or shop integration to the audience used by the campaign. Assign an owner to check each entry point. Treat this as your operational checklist, especially when separate teams maintain forms and marketing tools.
Finish with three recorded outcomes: the reader could complete the route, the intended audience shows the expected status, and your team has checked the other places feeding future sends. Save the checklist with the campaign so it can be repeated after template or integration changes.
Sources: Hostinger, Mailchimp.
See it in our social posts
The key steps of this article, as a carousel. Follow us to catch the next ones.