

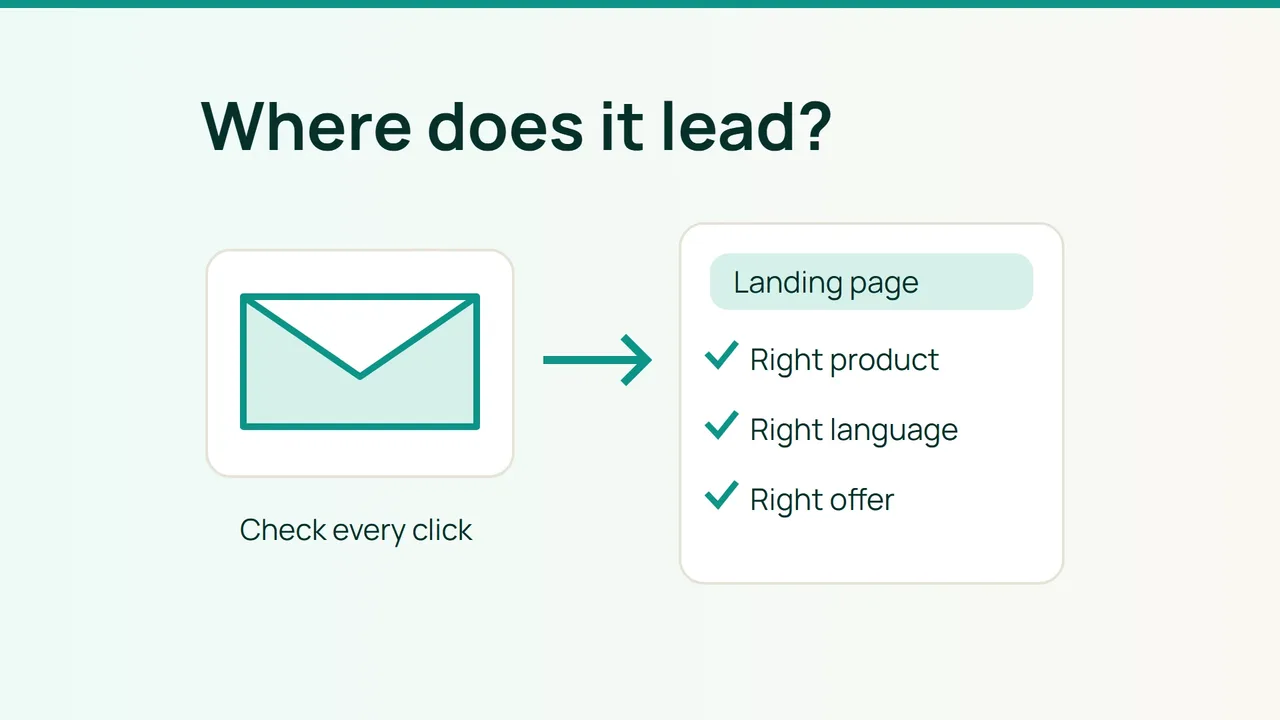
Hostinger's September 22, 2026 La'Oda story describes newsletters as part of the store's promotional activity. For your next Mailchimp campaign, turn that idea into a practical check: make sure every commercial link delivers what the email promises.
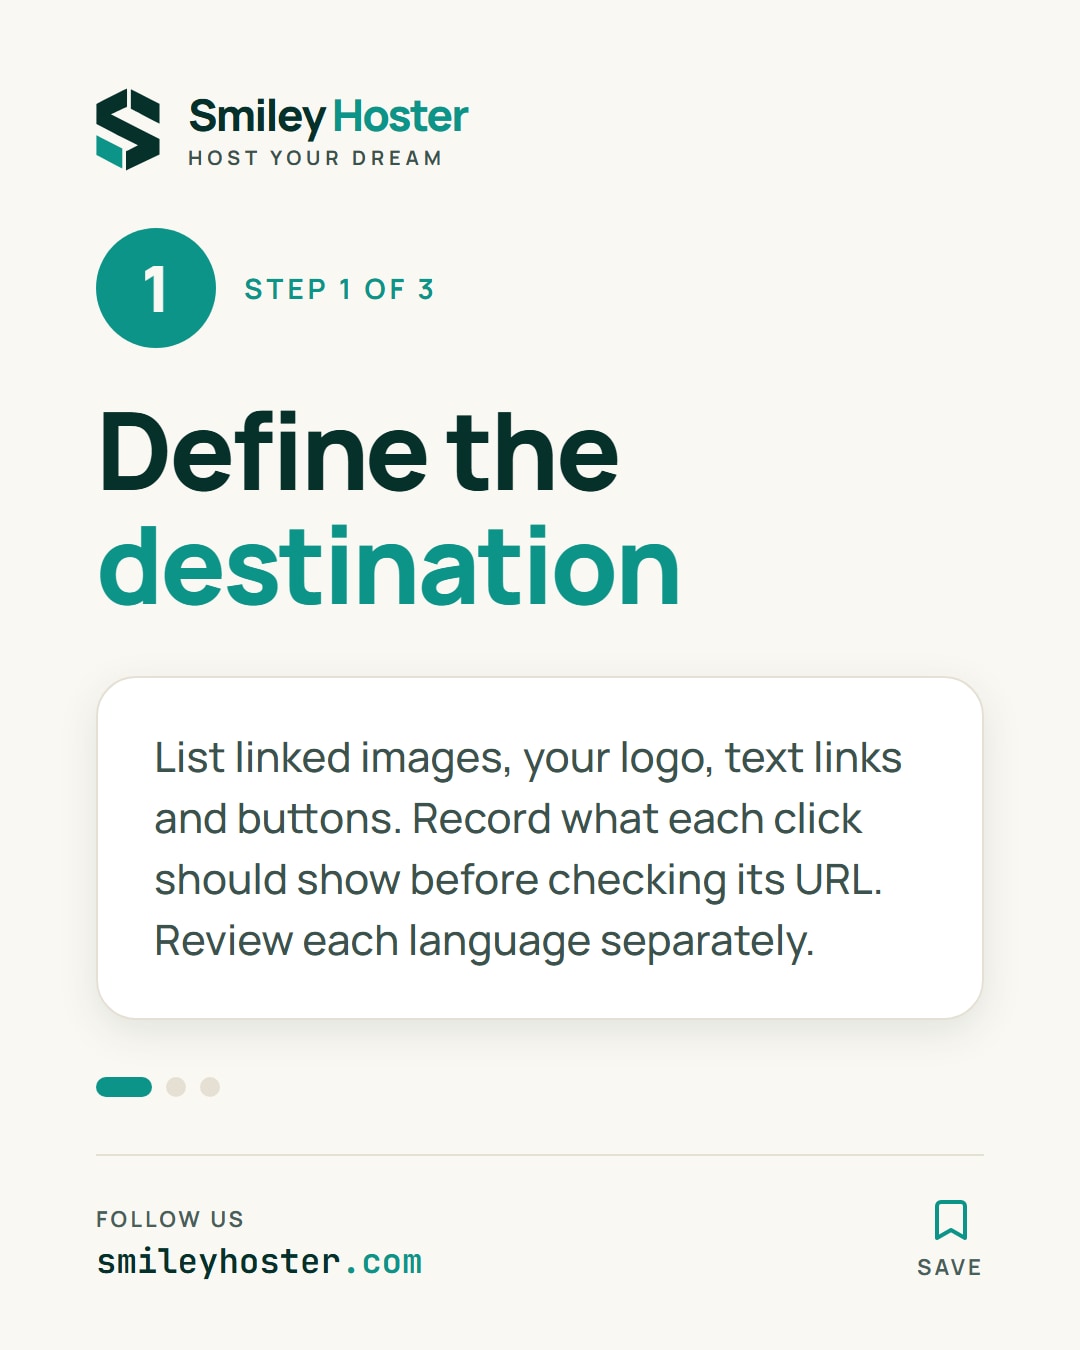
1. Define what each click should deliver
Before opening any testing tool, make a destination checklist from the campaign draft. Include linked images, the logo, text links and buttons. Write down the reader's expected result before looking at the URL already attached to each element.
This is our suggested acceptance method. It makes a wrong but working page easier to spot: a generic category page may load perfectly while failing to show the specific item advertised.
| Email element | Expected destination | Evidence to check |
|---|---|---|
| Product button | Advertised item | Name and variant |
| Offer image | Relevant promotion | Dates and conditions |
| Contact link | Intended recipient | Destination address |
Replace these examples with your actual content. For bilingual campaigns, keep separate French and English checklists. Reviewing one language does not establish that the other version uses the right destinations.
Give each row a simple outcome: pending, correct, or needs a change. Record the intended destination alongside the observed one so a colleague can reproduce the problem without guessing what you meant.
2. Use the built-in check within its limits
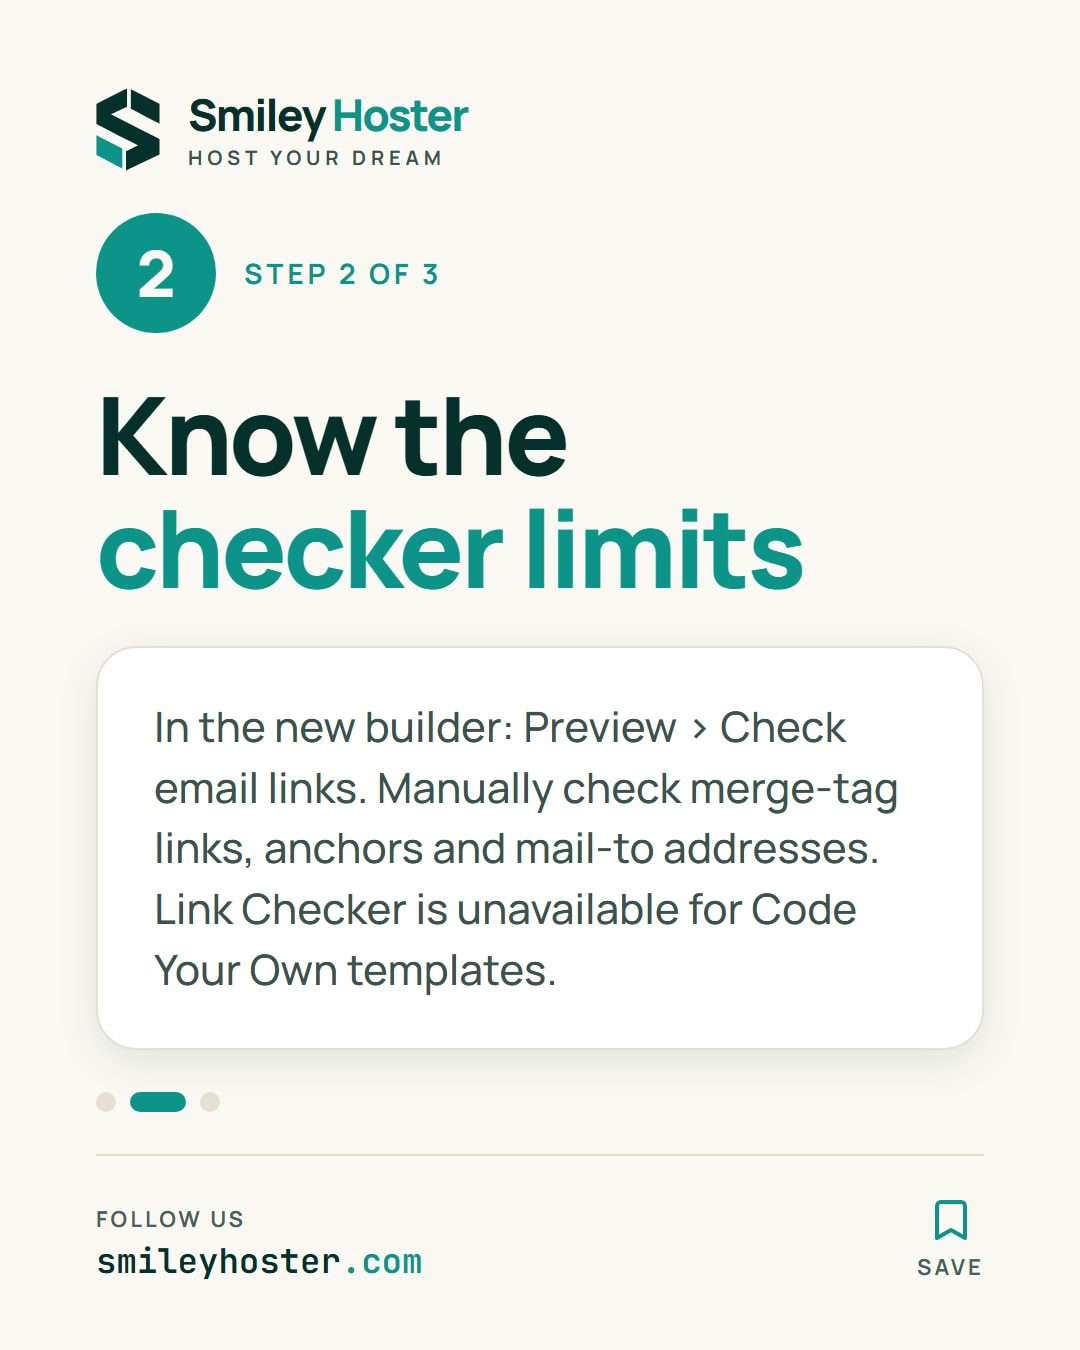
In Mailchimp's new builder, open Preview, then Check email links. Inspect each link's details and use Edit link to correct a wrong destination before saving.
Mailchimp excludes merge-tag links, anchors and mail-to addresses from Link Checker. The feature is also unavailable for Code Your Own templates. Those cases need a separate manual check.
Keep two questions distinct on your checklist: does the address work, and does it lead to the promised content? An absence of warnings answers neither question about the accuracy of your product description or offer.
For contact-specific links, preview with Enable live merge tag info. Ordinary test emails do not resolve contact-specific merge tags.
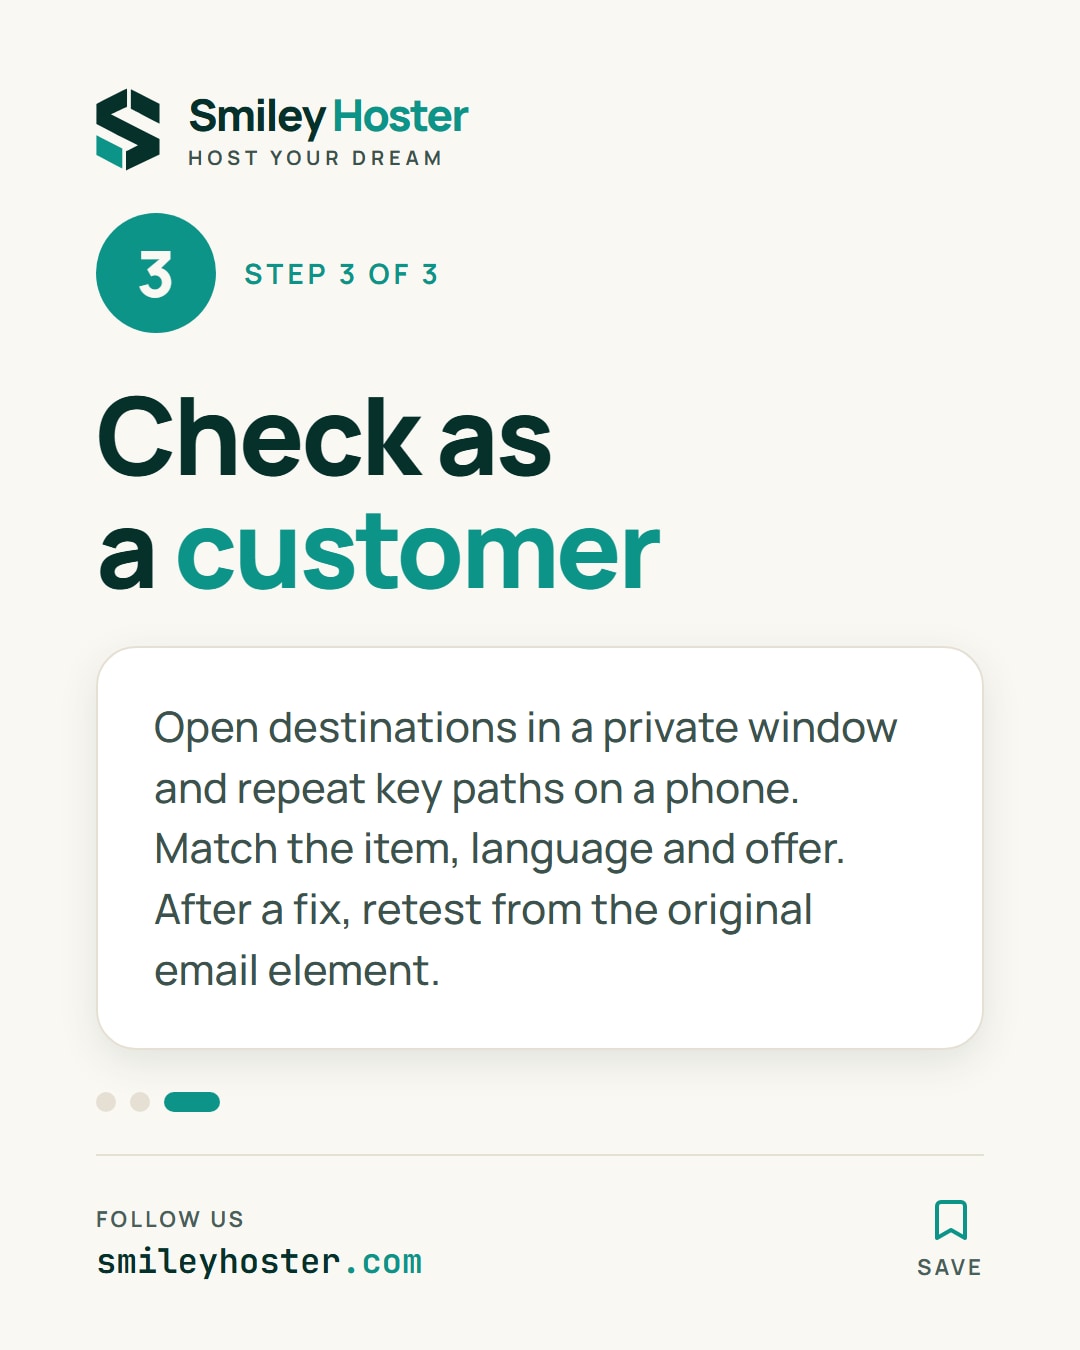
3. Review the destination as a customer
Our recommended final pass is to open each commercial destination in a private browser window, without your store administrator session. Compare the page against the checklist, then repeat the important paths on a phone.
Look for the advertised item, the correct language and matching offer conditions. Check that the destination is a customer-facing page rather than a staging site or a page requiring staff access. Ask a colleague to review any result you cannot classify confidently.
Document failures in concrete terms: which email element you clicked, what appeared, and what should appear instead. After correcting a link, start again from that element rather than testing only a pasted replacement address.
Keep the campaign as a draft until every important destination has a clear outcome. Save the completed checklist with the campaign name and review date for whoever authorizes the final send.
Sources: Hostinger, Mailchimp.
See it in our social posts
The key steps of this article, as a carousel. Follow us to catch the next ones.