

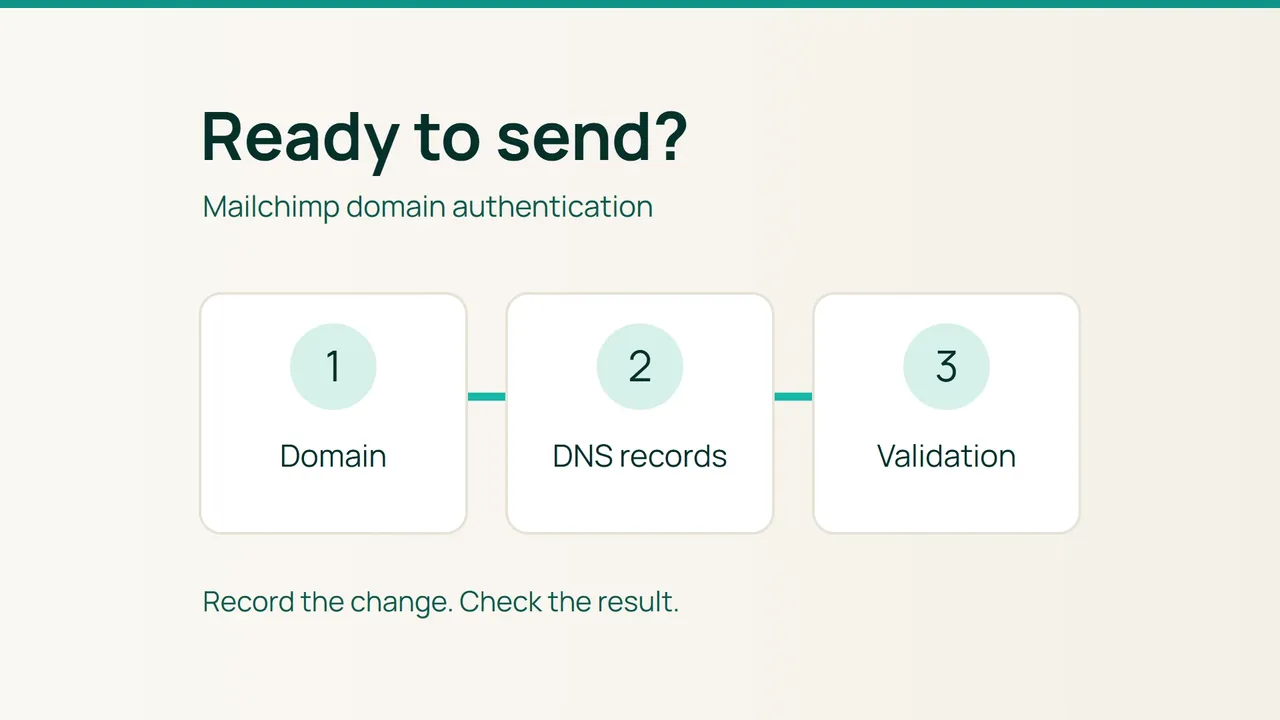
Hostinger's recent look at Black Friday preparation is a useful prompt to check the sending side of your next promotion. For a store using Mailchimp, a short domain handover checklist makes authentication easier to complete and review before a campaign is scheduled.
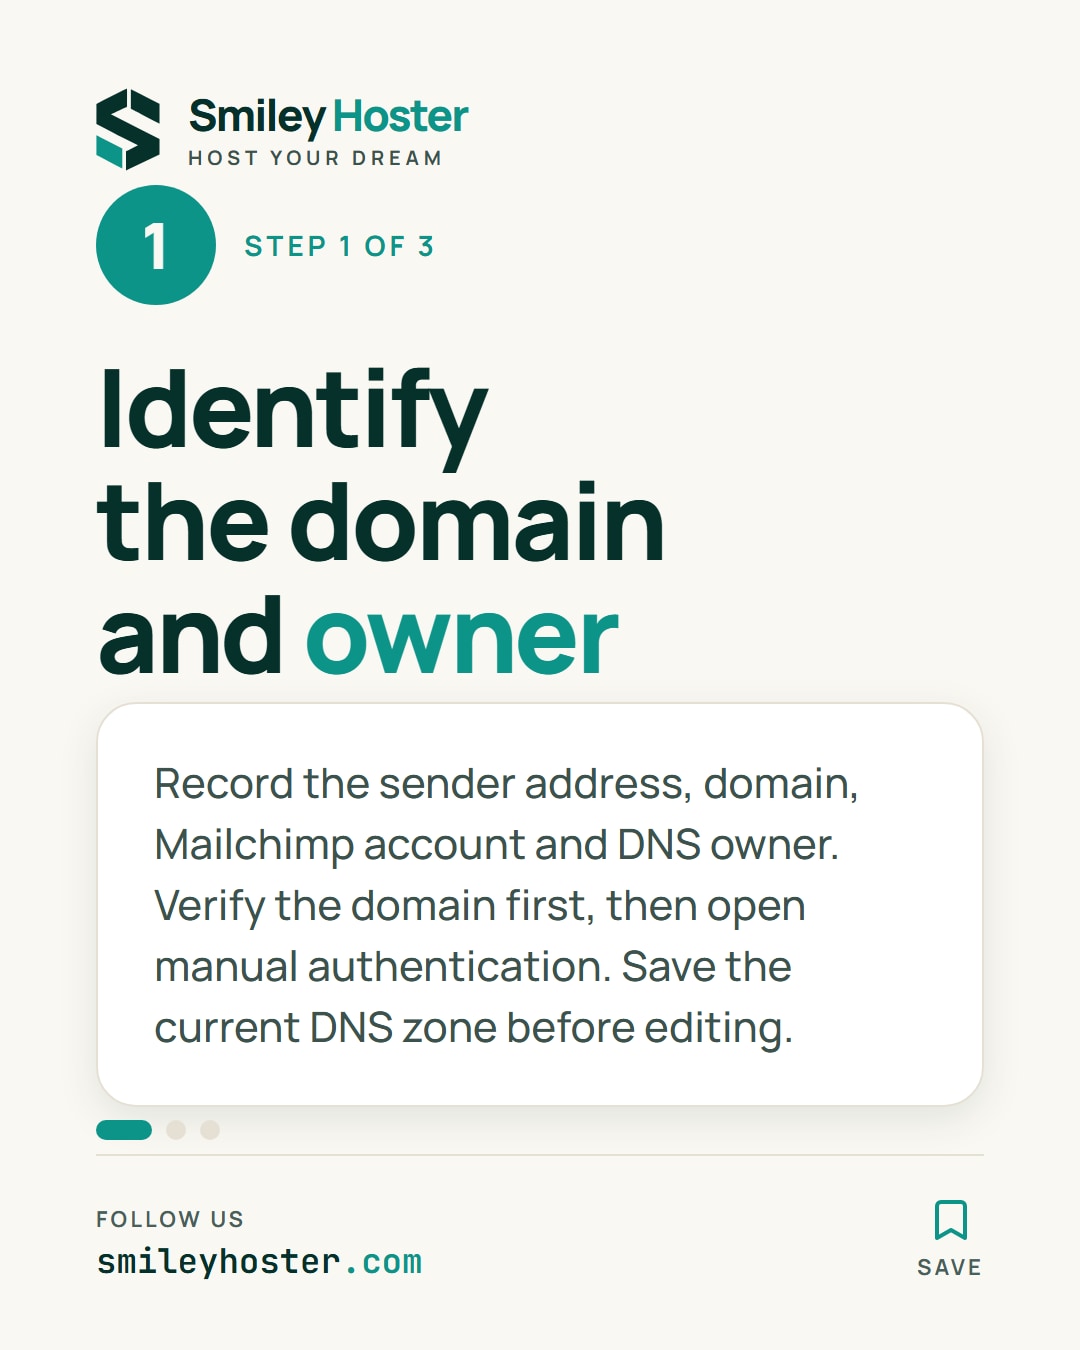
1. Identify the domain and its owner
Start a work sheet with the planned sender address, the relevant domain, the Mailchimp account and the person responsible for DNS changes. Include the campaign owner's name so there is a clear recipient for the completion notice.
Mailchimp requires domain verification before authentication. From the verified domain's settings, open the manual authentication instructions. Keep that screen available as the reference for your account's values.
Save a copy of the current DNS zone before editing. For your own change record, create four columns: requested name, record type, expected value and observed result. Keep passwords out of this sheet. If another person manages DNS, hand over the precise records and ask them to report back against each row.
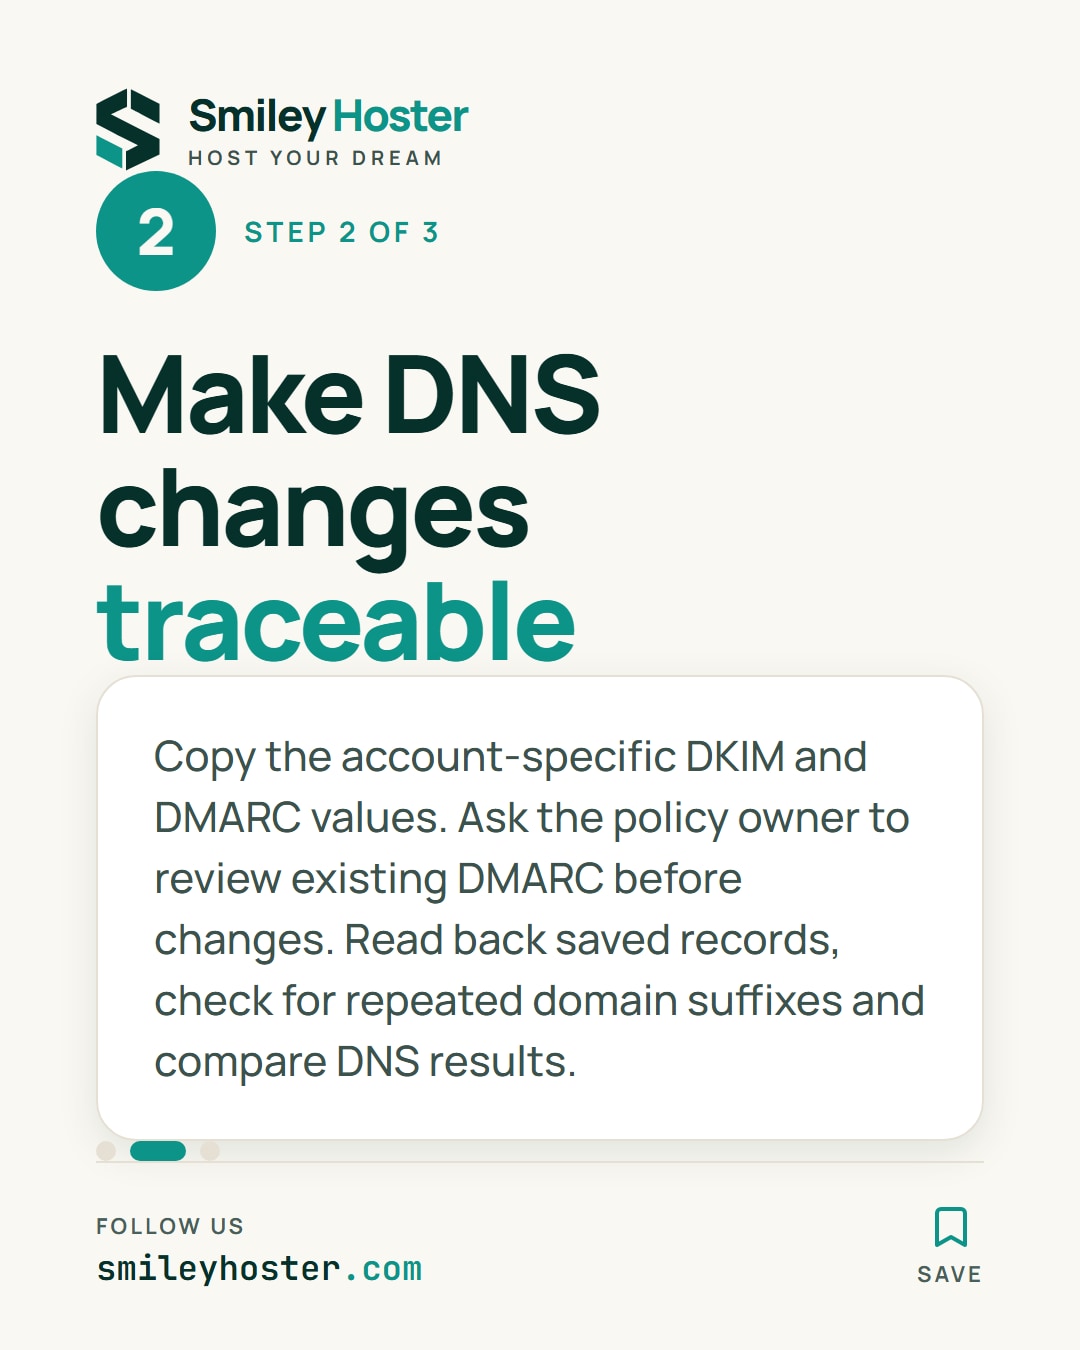
2. Make the changes traceable
The manual flow supplies two DKIM CNAME records and a DMARC TXT record. Copy the account-specific values. If a DMARC policy is already present, have its owner review the proposed change before proceeding.
For each row, enter the name, choose the type and paste the destination. Read the saved entry back before moving to the next row. A DNS editor may append the domain automatically, so check for an accidentally repeated suffix.
If your computer has dig, use this small lookup checklist. Substitute the full record name shown by your account for the illustrative selector below:
dig +short CNAME selector._domainkey.example.comdig +short TXT _dmarc.example.comPut the returned values beside the expected ones. Treat an empty result as something to investigate, rather than a completed check. Record each adjustment individually; changing several fields together makes the later handover harder to explain.
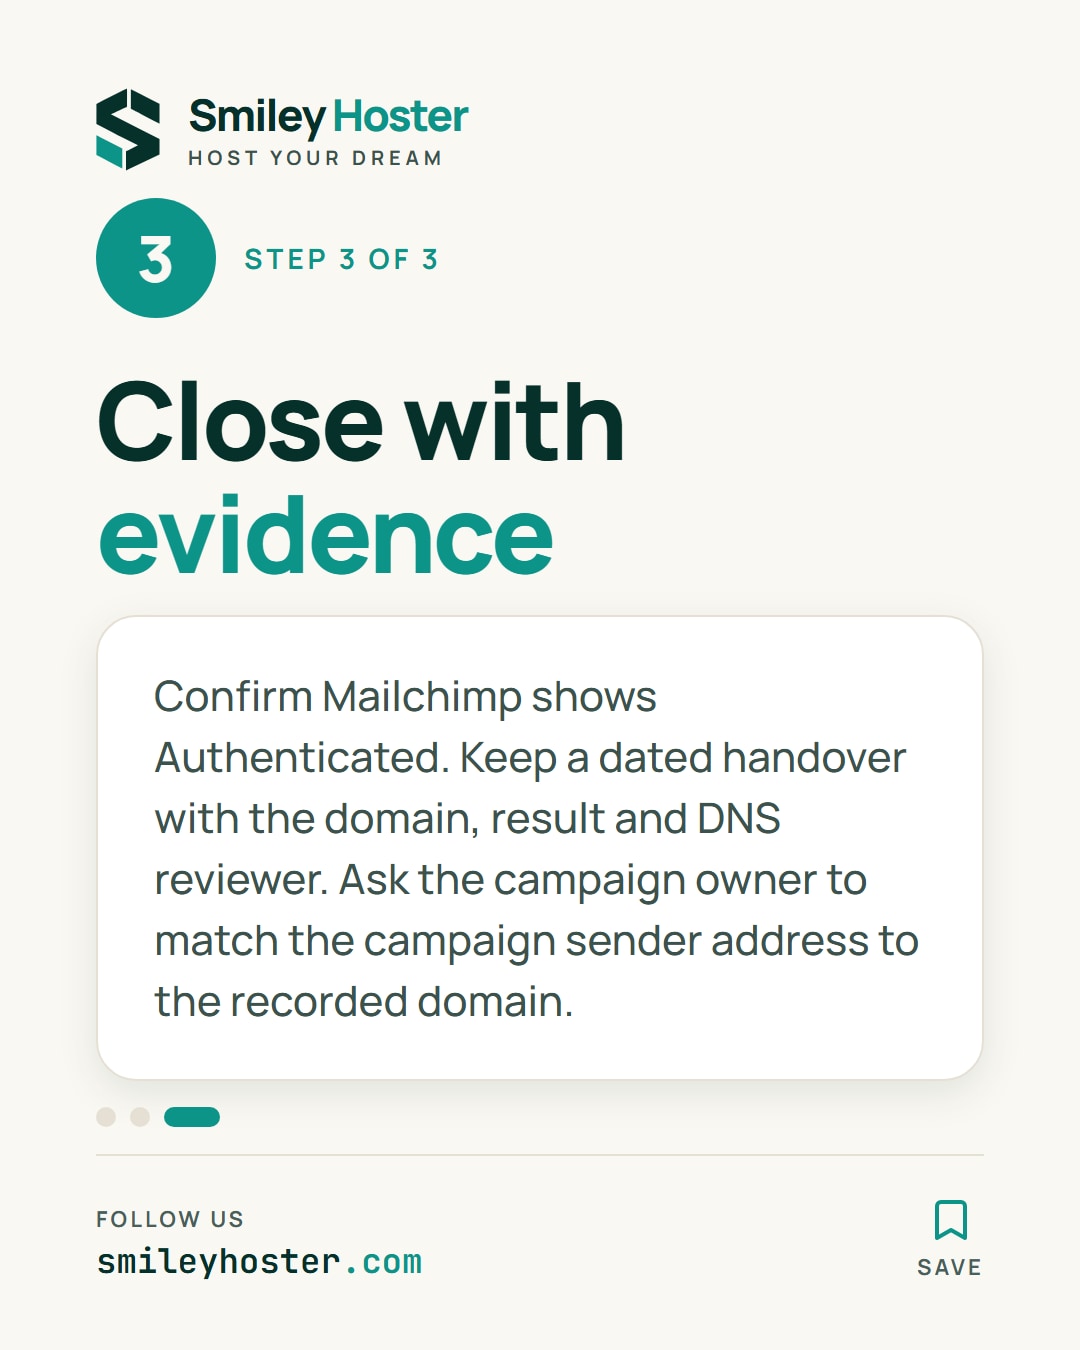
3. Close the task with evidence
Use Mailchimp's Authenticated status as the completion checkpoint. Its documentation allows up to 48 hours for validation, so leave room for that step in your schedule.
We suggest retaining a compact handover note containing the domain, date, Mailchimp result, DNS reviewer and intended campaign. Ask the campaign owner to compare the actual sender address in the campaign with the domain recorded on the sheet.
That final comparison is easy to overlook when several brands or accounts are involved. Give it an explicit owner and a completed checkbox instead of relying on a general message that email is ready.
The result is a documented authentication setup, not a guarantee of inbox placement. Keep this sheet with the launch checks so another team member can understand what was configured without repeating the whole investigation.
Sources: Hostinger, Mailchimp.
See it in our social posts
The key steps of this article, as a carousel. Follow us to catch the next ones.