

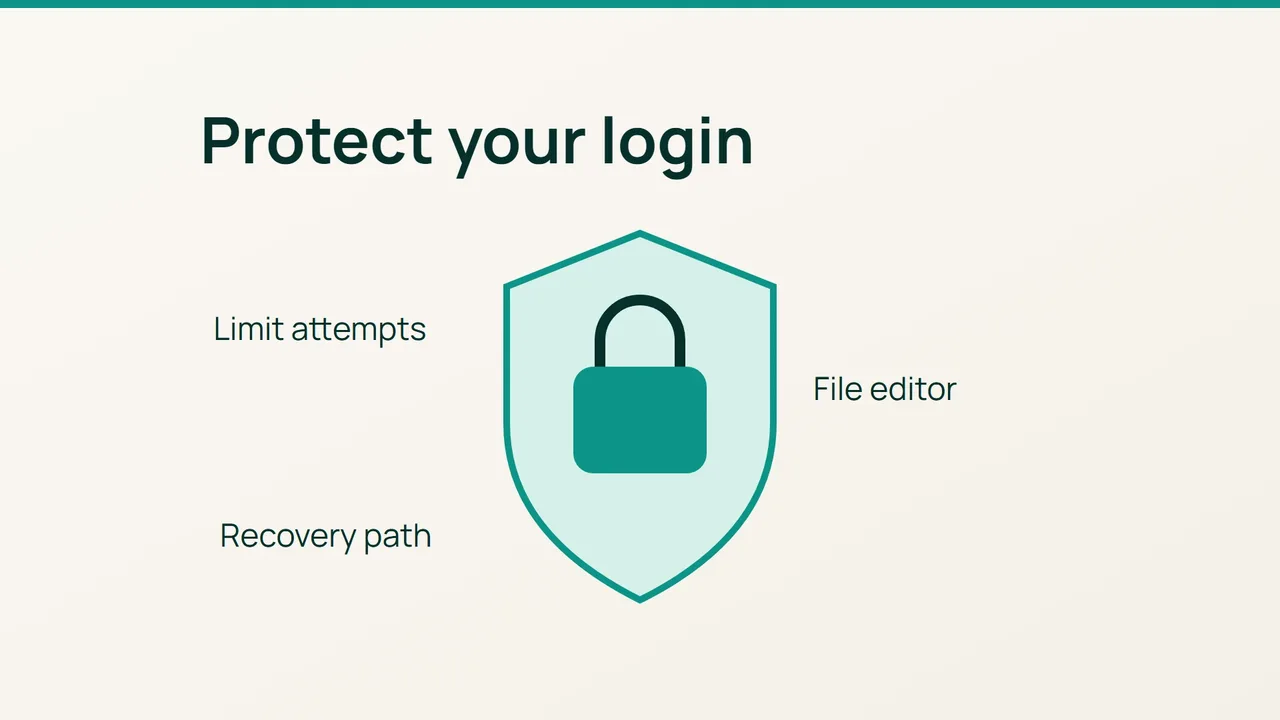
A different login address can reduce automated noise, but it does not make a stolen password safe. WordPress hardening guidance and the WPS Hide Login documentation provide a basis for a layered setup with a recovery route you can test.
1. Keep a way back before adding restrictions
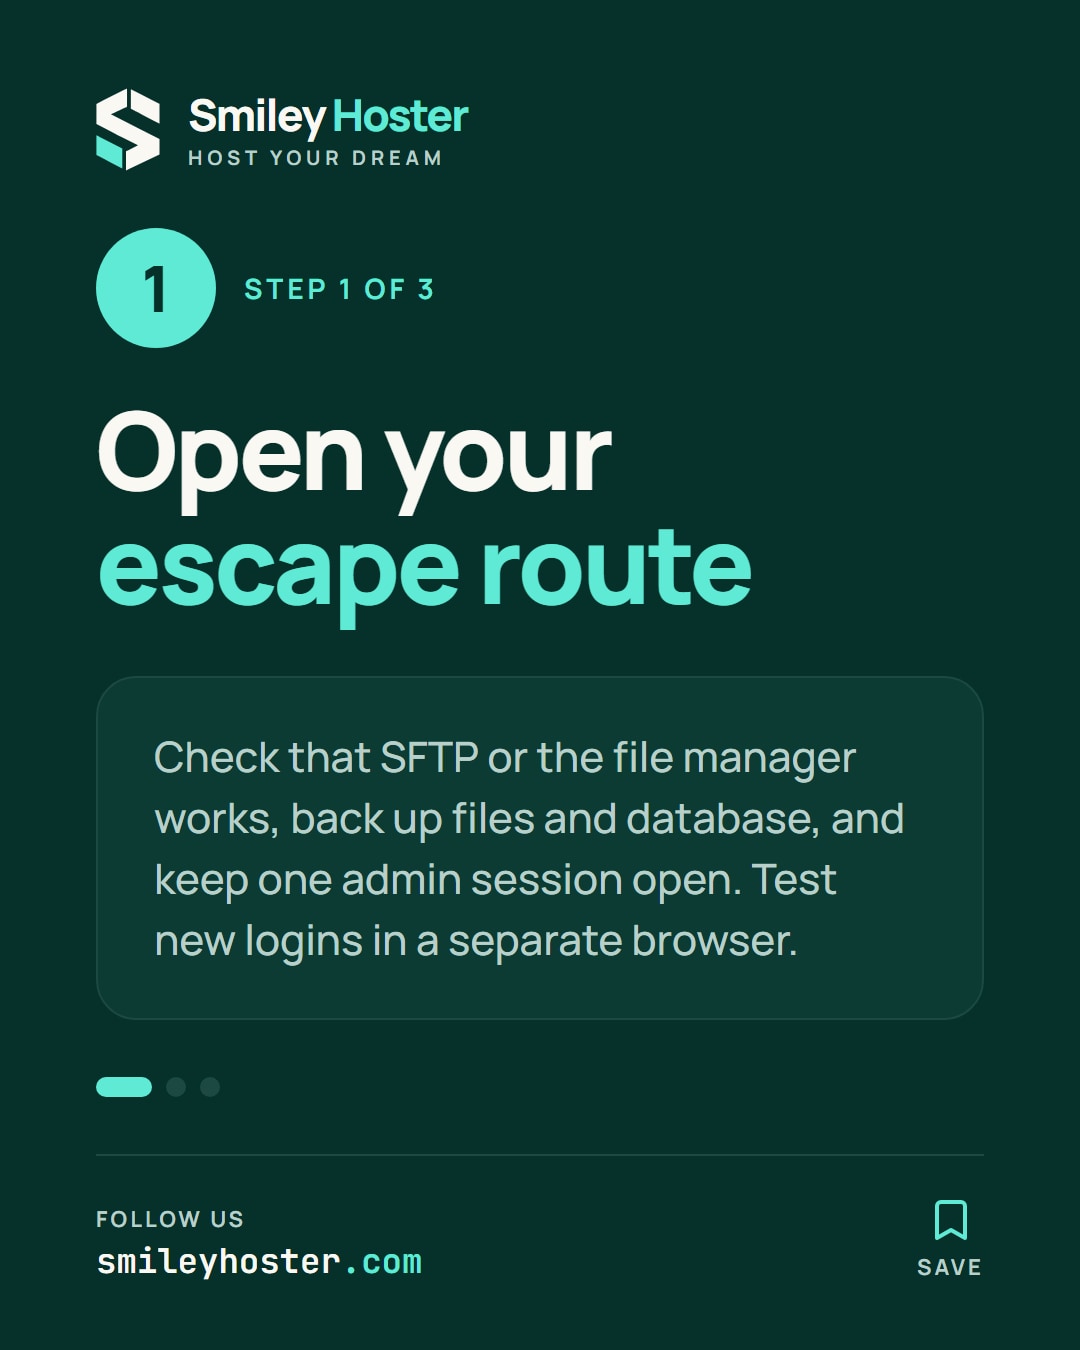
Confirm that your hosting file manager or SFTP login works. Back up the site files and database. Keep an administrator session open and use a separate browser for new-login tests.
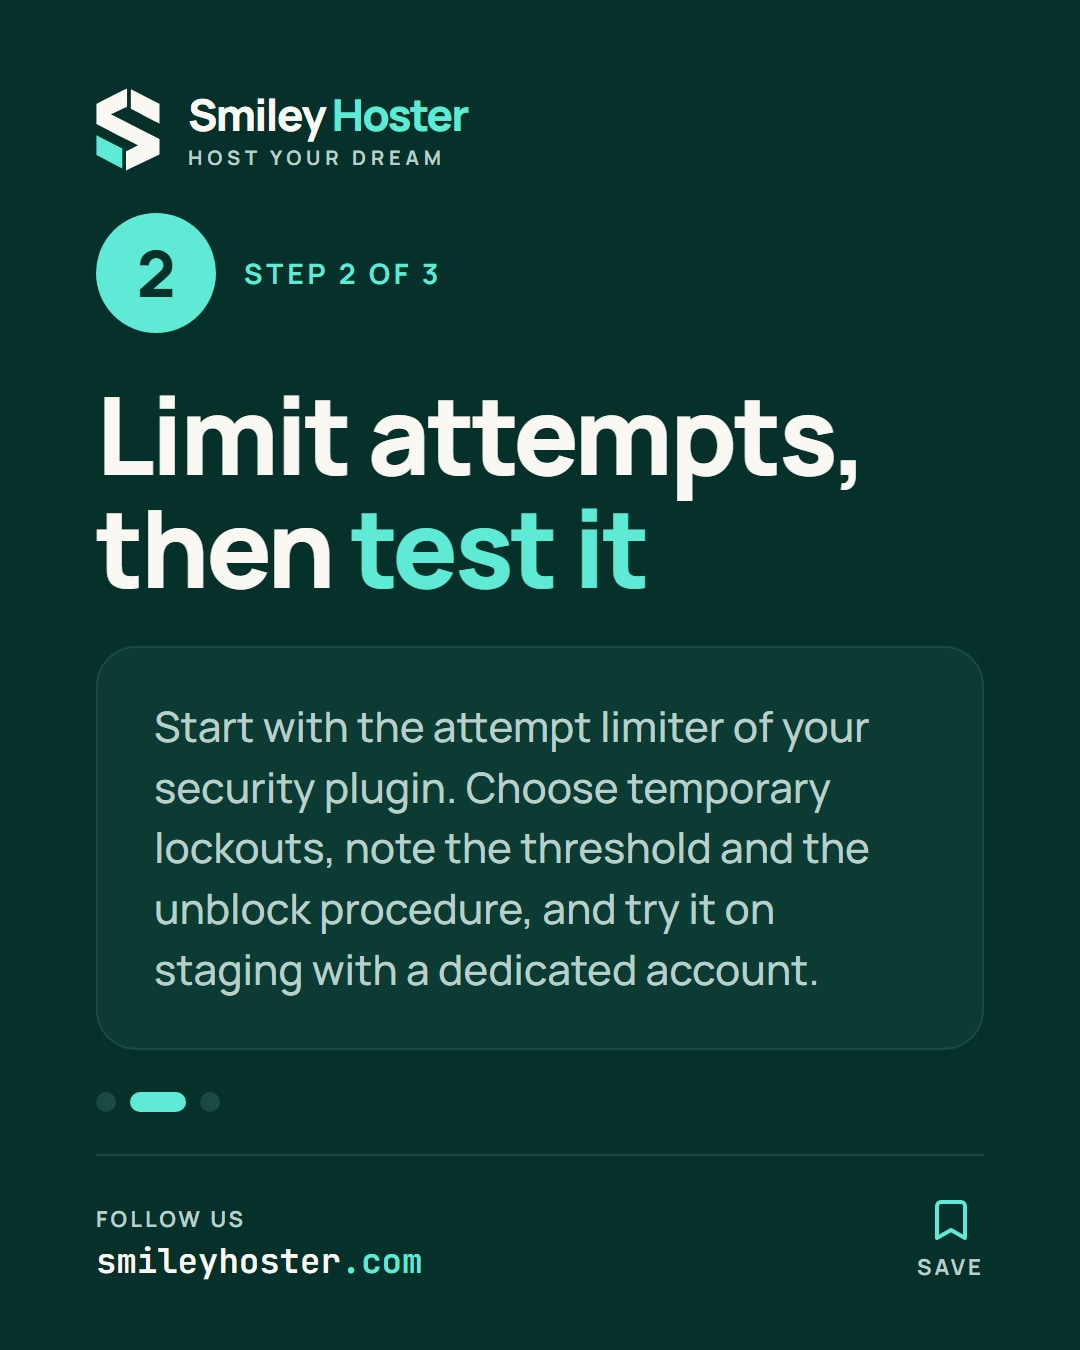
Start with the attempt limiter in your existing security plugin, if available. For the first trial, choose temporary lockouts rather than permanent bans. Record its threshold, duration and unblock procedure. These controls have different names across plugins, so follow the interface of the tool you actually installed.
Test on staging with a dedicated account. Trigger the configured number of failures, check that the next attempt is refused, then verify access returns after the lockout is cleared. Behind a proxy, confirm the tool identifies individual visitors correctly before enabling it on the live site.
Use unique passwords and enable a second authentication step where your security solution supports it. Treat the alternative login URL as an operational detail, not a replacement for those controls.
2. Disable file editing and change the entry point
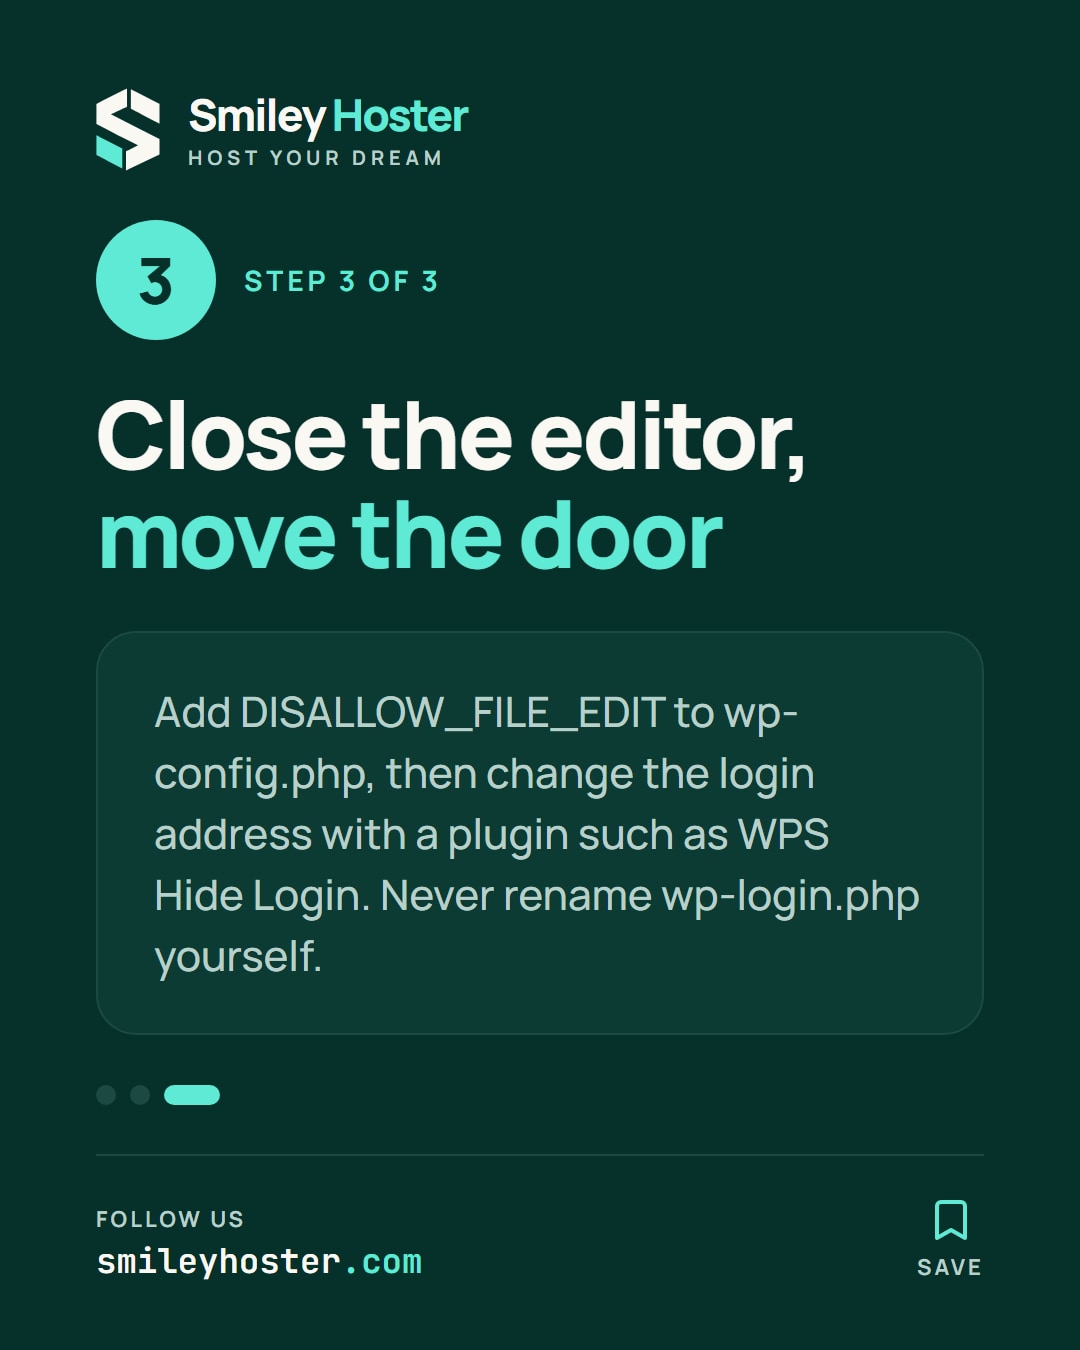
In wp-config.php, before the end-of-configuration comment, add this line or update its existing definition:
define( 'DISALLOW_FILE_EDIT', true );Sign in again and check that the theme and plugin file editors are unavailable. This limits dashboard editing; it does not prevent every possible upload or installation.
For the login address, use a dedicated plugin such as WPS Hide Login. Save your chosen path in a password manager before applying it. Do not rename the core wp-login.php file yourself.
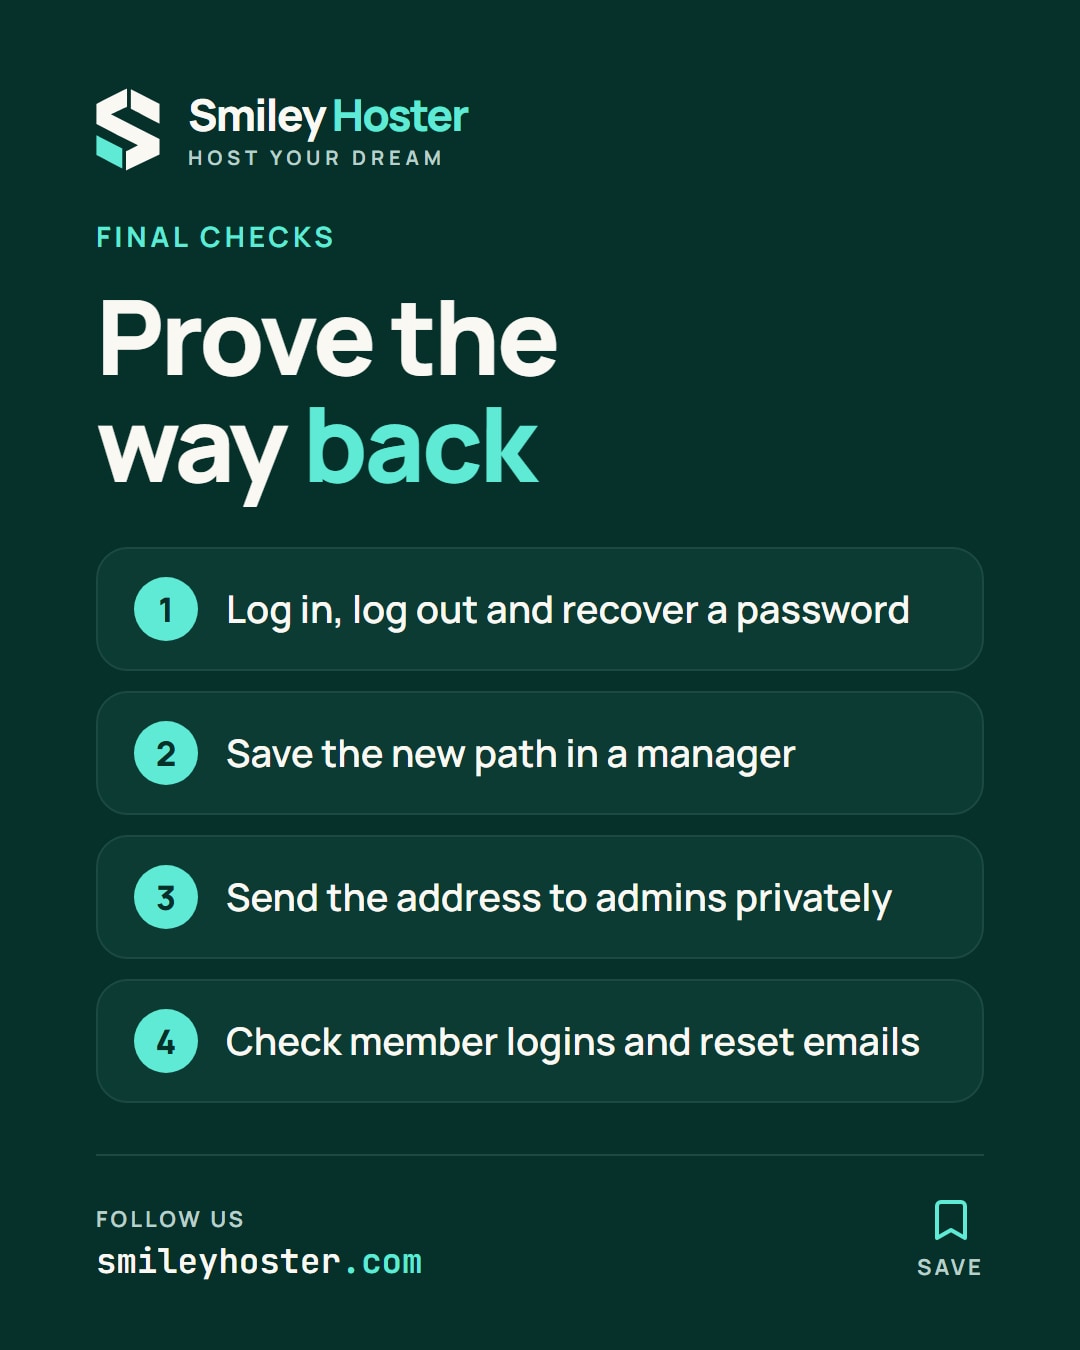
Open the new address in your second browser. Complete a login and logout, then test password recovery. Check the previous address while logged out as well. Keep the original administrator session open throughout this sequence.
3. Prove recovery and check related journeys
If changing the URL breaks access, deactivate WPS Hide Login through the session you retained. If that session is unavailable, use SFTP to rename only its directory under wp-content/plugins, disabling the plugin, and try the usual login address again. Record the original directory name for restoration.
Give other administrators the new address through a private channel. Check member login pages and recovery links in actual test emails before considering the change complete.
Common mistakes are running two login-renaming plugins, caching the login form, and testing failed passwords against the only administrator account. Keep a short recovery note alongside your configuration record. If a required journey fails, revert the latest change before adding another protection.
Sources: WordPress, WPS Hide Login.
See it in our social posts
The key steps of this article, as a carousel. Follow us to catch the next ones.