

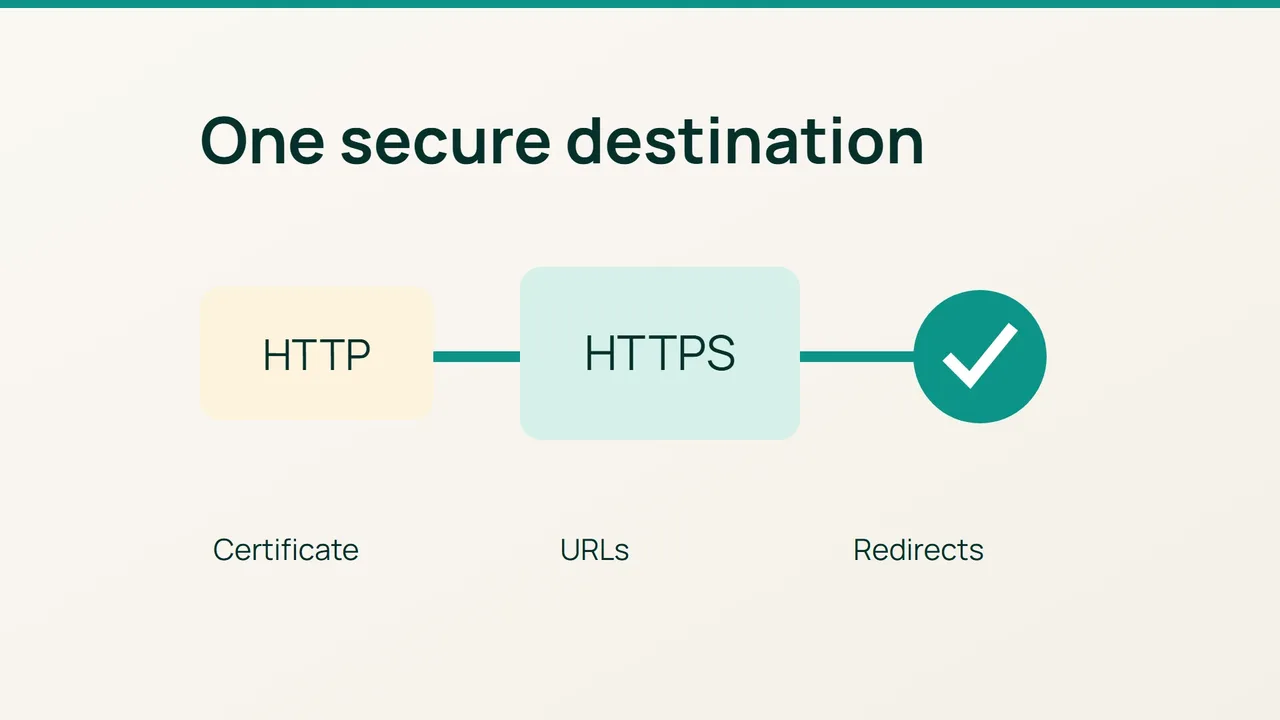
A valid certificate is only the first part of moving an existing WordPress site to HTTPS. WordPress HTTPS guidance highlights the need for the application to recognise the secure connection; stored URLs and competing redirects also need a controlled check.
1. Establish a working secure destination
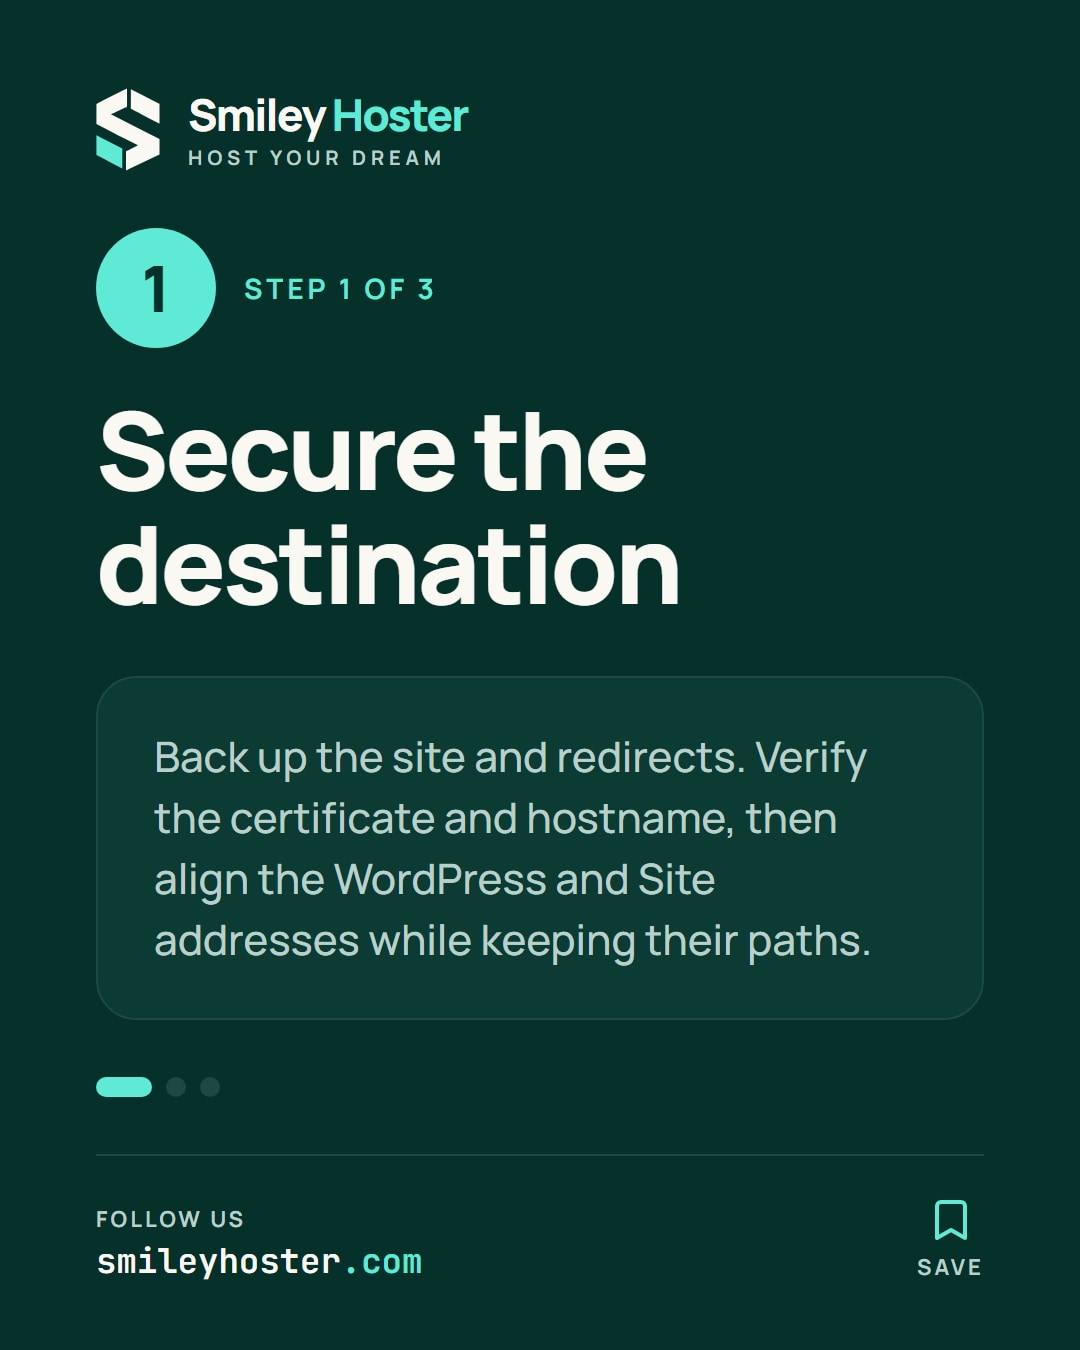
Use this procedure for a single-site installation, not a multisite network. Back up the database, files and current redirect configuration. Confirm you can use SFTP or the hosting panel if WordPress login stops working.
Visit the HTTPS address directly. The certificate must be valid for the chosen hostname, including your decision about www. Resolve certificate warnings before editing WordPress settings.
In Settings > General, record both WordPress Address and Site Address. Change their protocol to HTTPS while retaining the existing paths. A WordPress installation in a subdirectory may legitimately use two different addresses.
If these fields cannot be edited, inspect the corresponding constants in wp-config.php. Do not start changing database rows without understanding which configuration actually controls the URLs.
2. Preview the content replacement
With WP-CLI installed, run this from the site's directory after replacing the sample domain with your exact address:
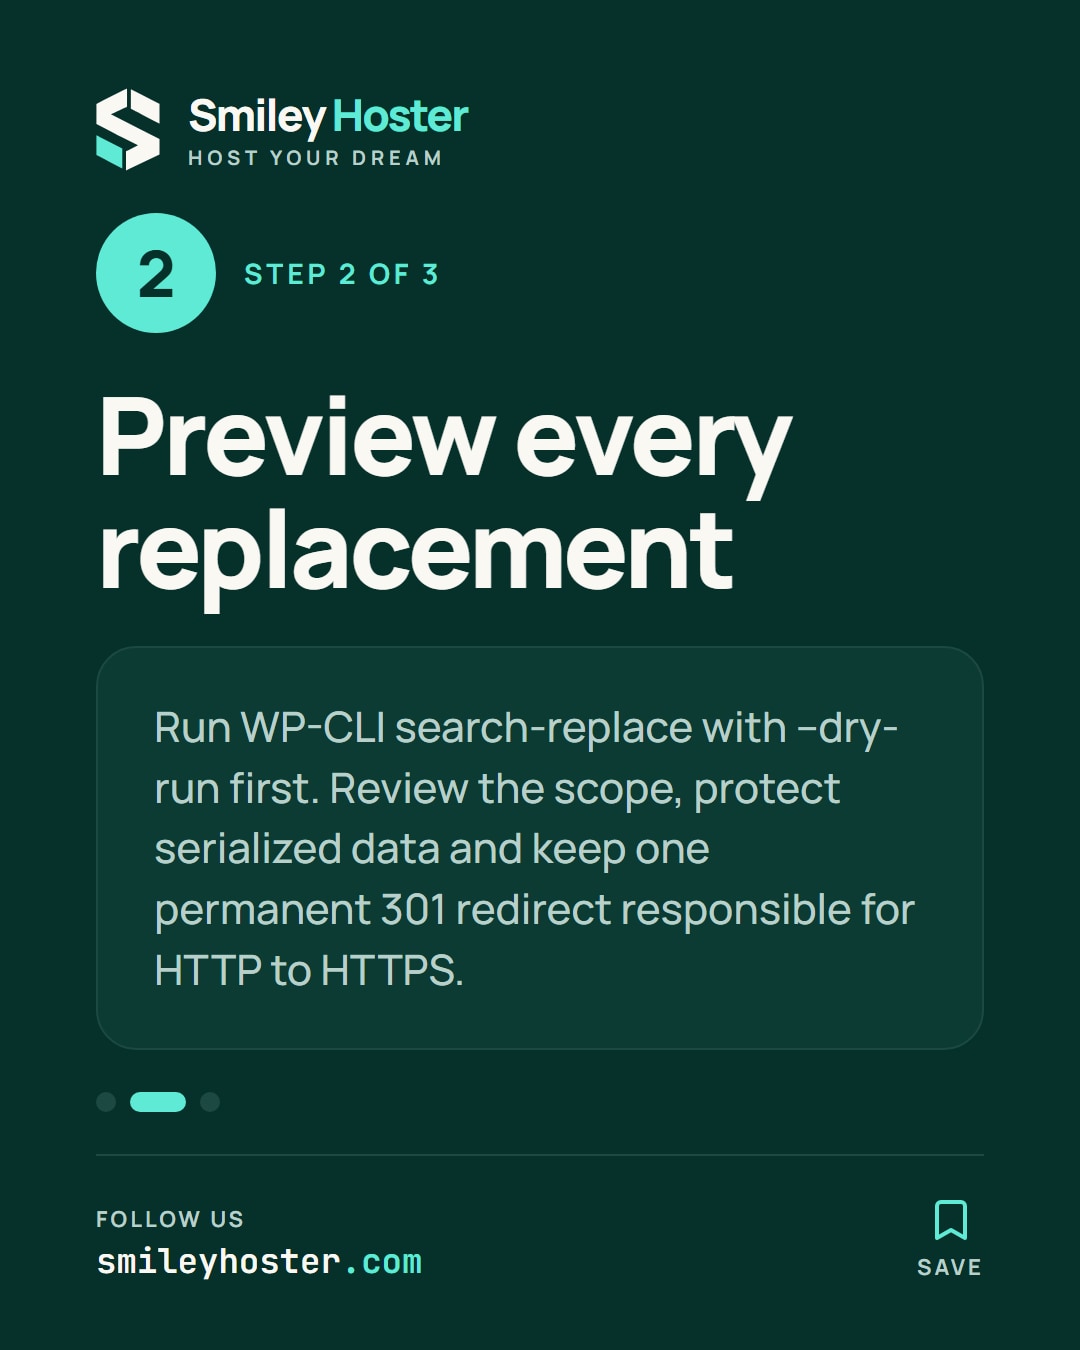
wp search-replace 'http://example.com' 'https://example.com' --skip-columns=guid --dry-runReview the affected tables and replacement counts. When the scope matches your backup and intention, repeat without --dry-run. WP-CLI handles serialized data; a raw SQL string replacement can damage that structure.
The default scope covers tables registered with WordPress. Investigate plugin-specific tables separately rather than automatically expanding to every table. Leave unrelated external domains alone.
Configure one permanent 301 redirect from HTTP to the canonical HTTPS address using the hosting panel, preserving paths and query parameters. If no such control exists, arrange the equivalent server rule. Keep responsibility for that redirect in one place so the hosting layer and plugins do not fight each other.
3. Follow the request and test real actions
Check an inner page starting from HTTP:
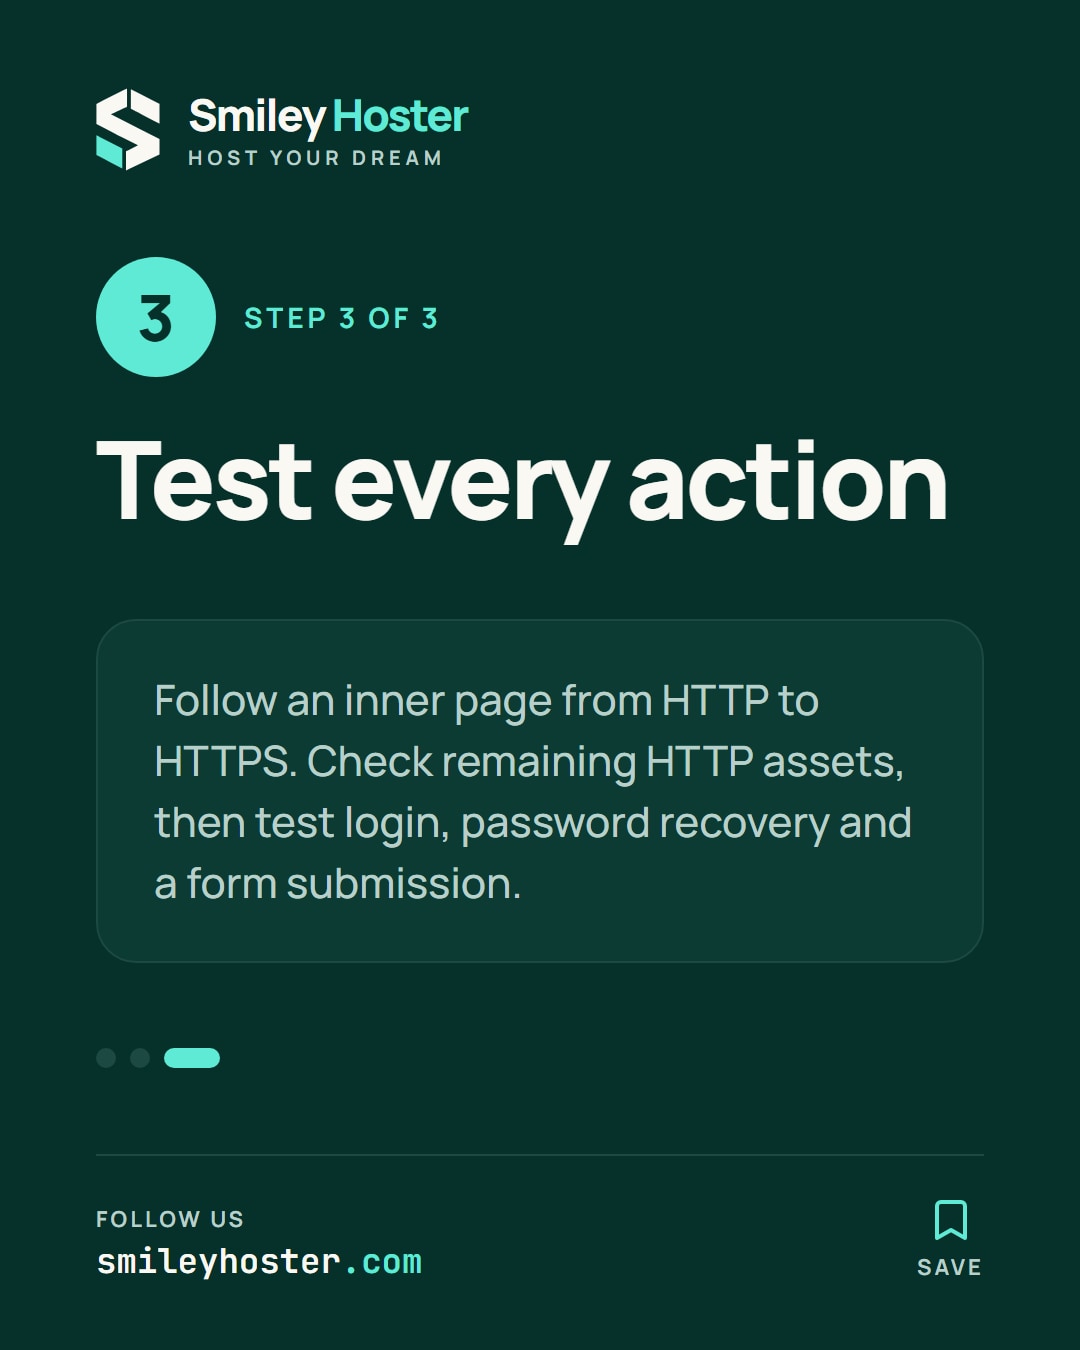
curl -I -L --max-redirs 5 'http://example.com/sample-page/'It should reach the same page on HTTPS without bouncing between schemes. Behind a reverse proxy, a loop may mean WordPress does not recognise the original secure request. Have the trusted proxy's protocol signalling configured correctly; do not blindly trust a header that a visitor can supply directly.
Clear relevant caches and inspect browser network requests for remaining HTTP assets. Fix the source of each URL: post content, theme, generated CSS or a plugin setting. Replace or remove an external asset if its provider has no secure endpoint.
Finish with login, password recovery and a test form submission. Common mistakes are changing URLs before HTTPS works, stacking contradictory redirect rules and assuming the browser's lack of a visible warning proves every resource was corrected.
Sources: WordPress HTTPS, WP-CLI search-replace.

See it in our social posts
The key steps of this article, as a carousel. Follow us to catch the next ones.