

Your sending provider says the domain is ready, but you still need to check a message produced by the website. Inspired by Cloudflare’s April 2026 Email Service announcement, this procedure turns DKIM setup into a repeatable acceptance test for your own sending workflow.
1. Capture one real workflow
Pick a specific action, such as account registration or a contact-form submission. Use test details and deliver the result to an external mailbox you control. Record the action and its time, then open the received message’s full headers. Gmail calls this option “Show original”.
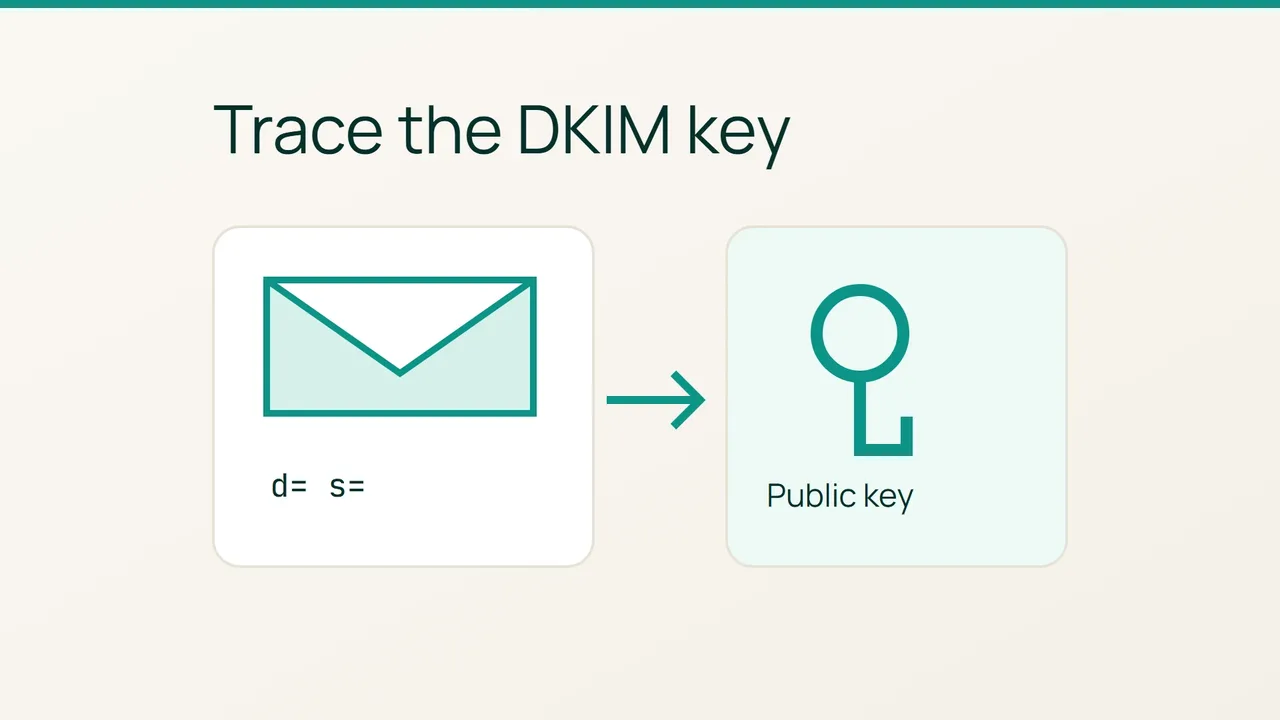
DKIM combines a signature made by the sending service with a public key in DNS. In the DKIM-Signature header, find d=, the signing domain, and s=, the selector. Together they identify the DNS name used for the key lookup.
Create a separate test note for this workflow. If the website has several email integrations, label which one generated the message. A useful support request starts with evidence from the actual route you are trying to fix.
2. Check the key at the indicated name
For the fictional values d=example.com and s=site1, look up site1._domainkey.example.com. On a machine with dig, substitute the values from your own message:
dig +short TXT site1._domainkey.example.comCompare the response with your provider’s configuration instructions. If those instructions specify a CNAME target, inspect that record too:
dig +short CNAME site1._domainkey.example.comThe DNS key is public; the signing private key belongs on the sending side. Do not invent replacement key material simply to clear a configuration warning.
Add the queried name, expected record type and observed answer to your note. Resolve any mismatch between the message and the provider’s instructions before changing another record. Save the current DNS configuration alongside the proposed correction so the support team can see exactly what changed.
3. Repeat the same test after a fix
Review the recipient’s DKIM verification result as well as the DNS response. Finding a key is only one part of the investigation; your acceptance check needs evidence that this sending route produced a valid signature.
For a missing signature, share the test workflow and its headers with the sending provider. For a failed signature, include the signing domain, selector and DNS answer too. Ask for a correction scoped to that integration.
After the correction, trigger the same workflow again with a distinctive test subject. Keep its outcome beside the original failure and confirm resolution from the new message. Then repeat the process independently for any other sending integrations. The resulting set of test notes gives you something concrete to reuse when a plugin or mail provider changes.
Sources: Cloudflare Blog, Cloudflare — DKIM.