

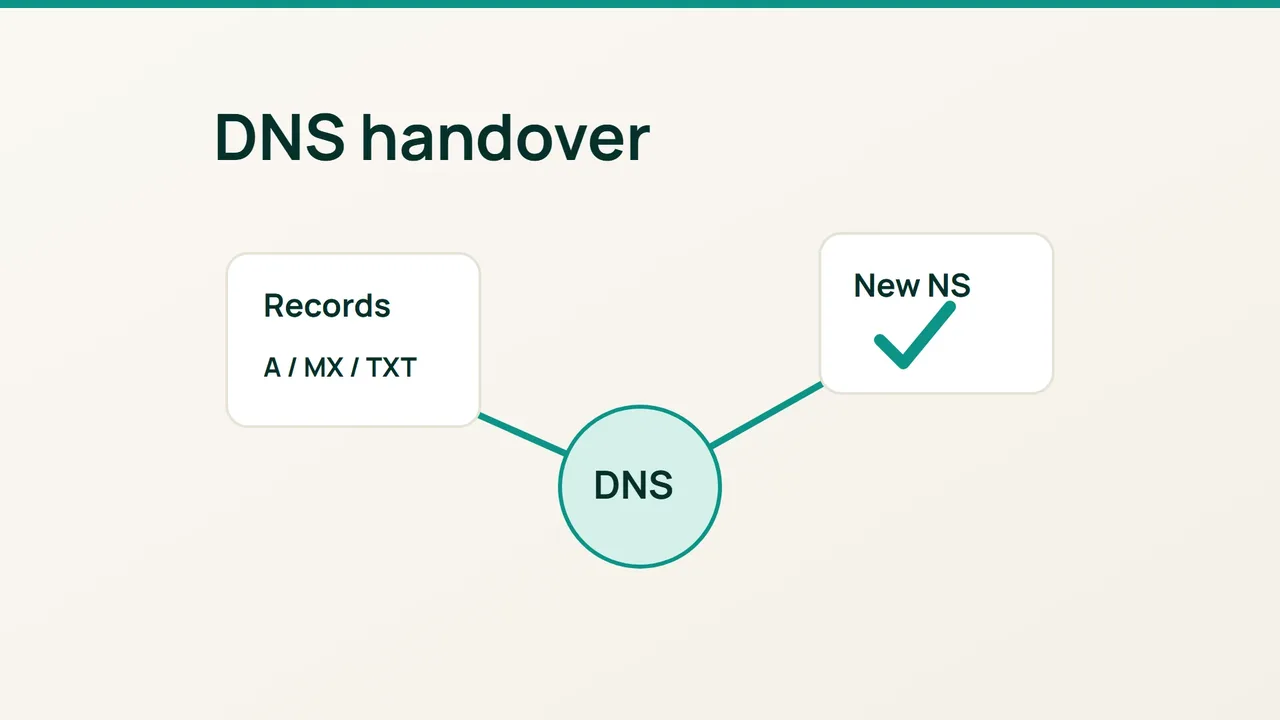
Cloudflare's latest cache changes are useful only after traffic reaches the intended service. If you are joining Cloudflare, make the first change a controlled DNS handover, with a written inventory and a short acceptance check.
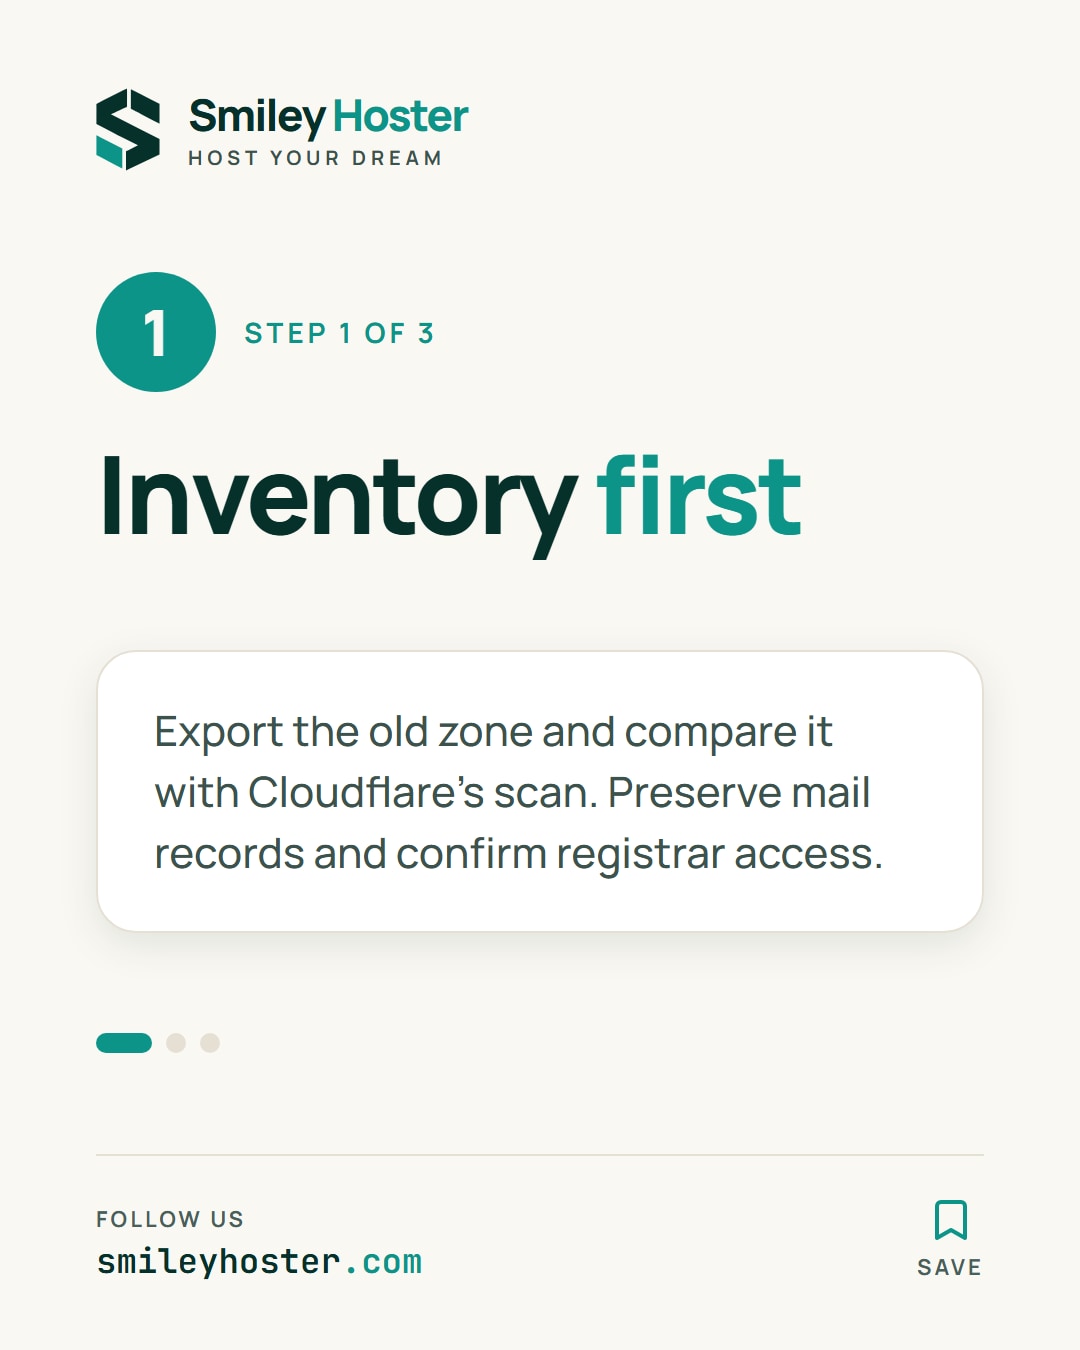
1. Build a service inventory
Export the existing DNS zone before onboarding the domain. Keep record names, types, values, priorities and TTLs together. Beside each record, write what depends on it: the website, an email provider, a verification service or an internal tool.
Add the root domain, such as example.com, to your Cloudflare account. Treat the automatic record scan as a starting point. Compare its results with the export rather than assuming that every obscure subdomain was discovered.
Copy mail settings from your actual email provider. MX records and the SPF, DKIM and DMARC values should survive the handover unchanged unless you have a separate, documented reason to alter them. Include the hostname used by desktop email clients in your checks.
Make sure you can sign in to the registrar before scheduling the change. The company holding the domain registration may be different from the company currently hosting its DNS.
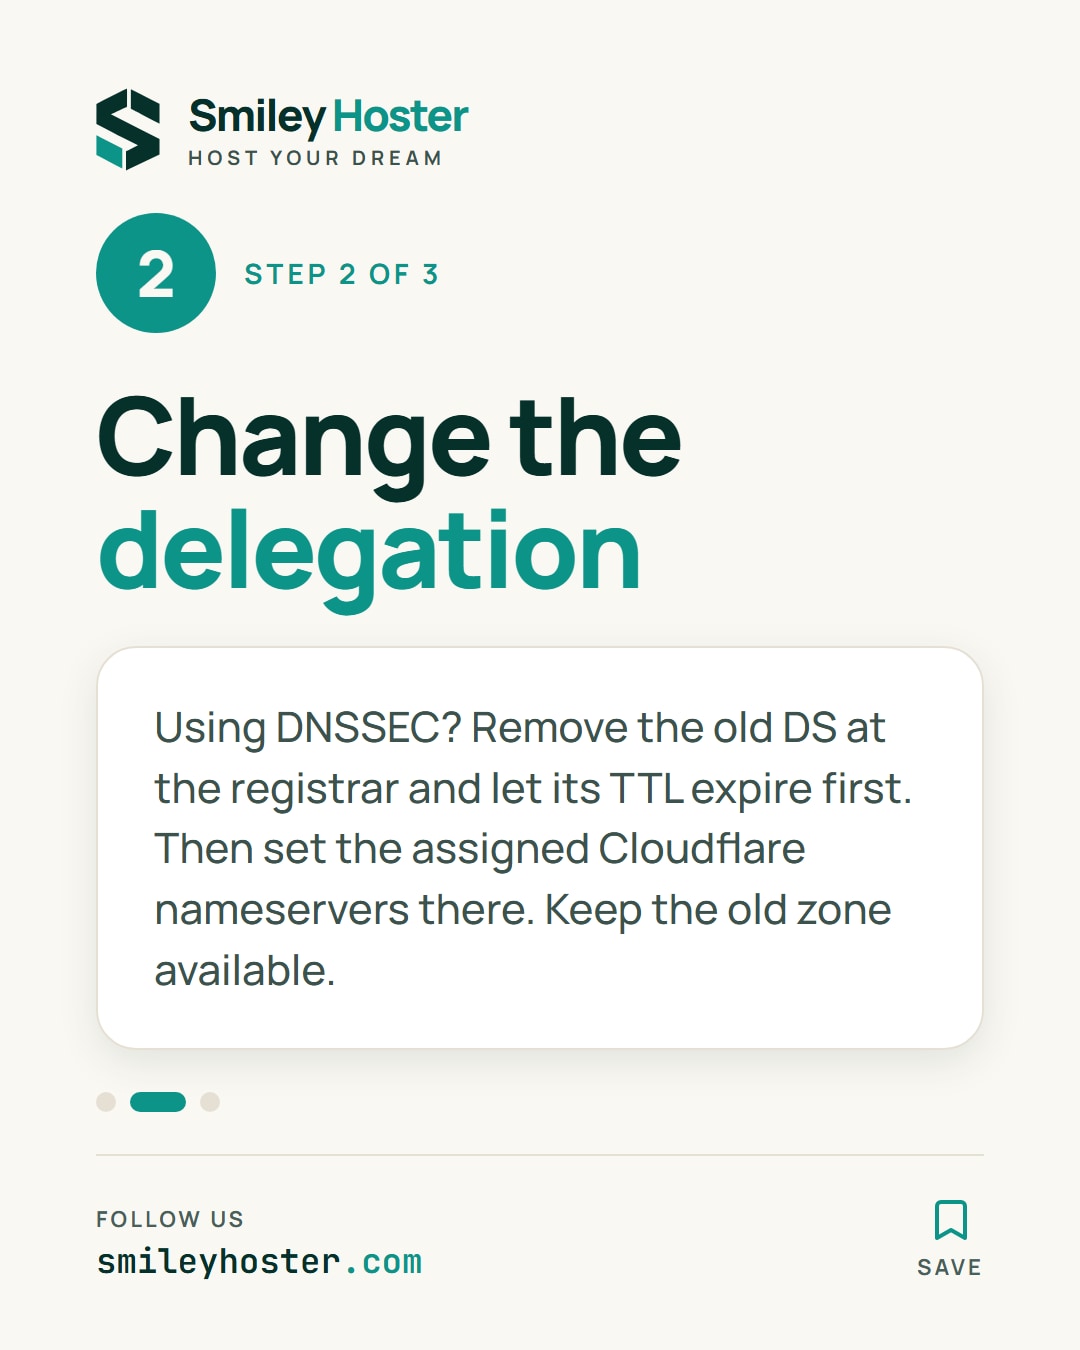
2. Replace the delegation
Find the nameservers assigned to this specific Cloudflare zone. Enter them in the registrar's nameserver settings, replacing the previous delegation. Creating extra NS records in the old DNS zone is not a substitute for updating that setting.
An existing DNSSEC configuration needs attention before the move. Remove the old DS through the registrar's procedure and allow its TTL to expire before switching nameservers. Otherwise validating resolvers can reject the new provider's answers.
Leave the previous zone available during the transition. Keep the hosting server and mail provider unchanged for this operation; combining several migrations makes any failure harder to locate.
3. Run an acceptance check
Use a system with dig installed and replace the sample domain:
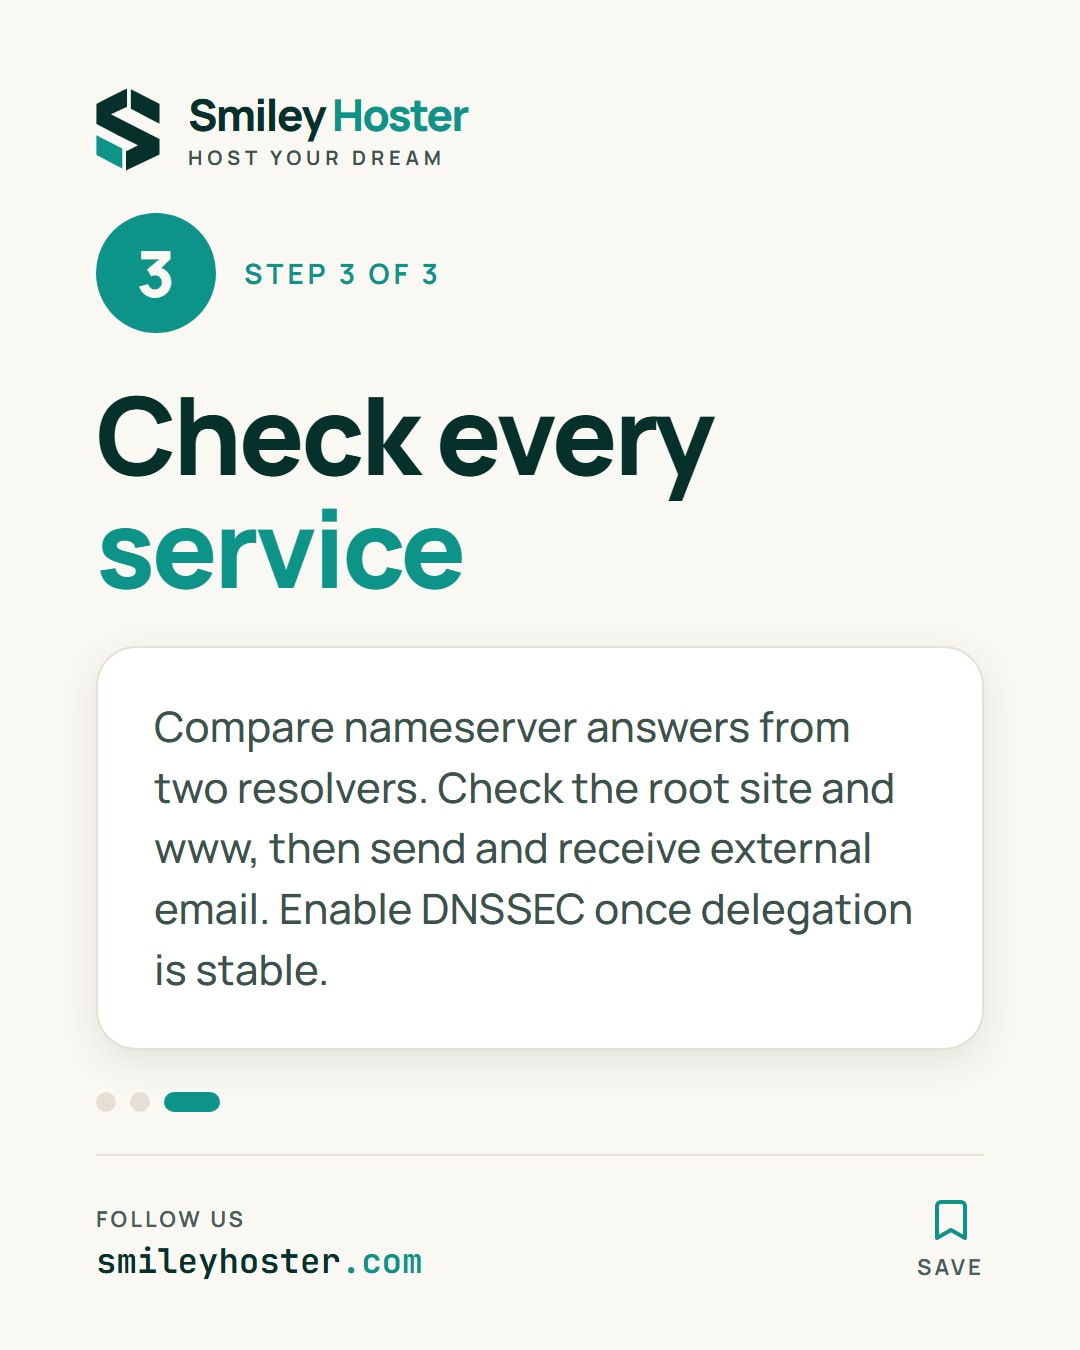
dig NS example.com @1.1.1.1dig NS example.com @8.8.8.8dig MX example.comCheck that the reported nameservers match the assigned pair and that Cloudflare marks the zone active. A disagreement between resolvers is a reason to investigate cached delegation data, not to keep editing correct records.
Then open both the root website and its www address. Send mail to an external mailbox and reply from it. Work through the remaining hostnames in your inventory, recording a result for each service. Once the delegation is stable, enable DNSSEC using the new provider's procedure. Keep the inventory as the baseline for your next DNS change.
Sources: Cloudflare Blog, Cloudflare documentation.
See it in our social posts
The key steps of this article, as a carousel. Follow us to catch the next ones.